

 HANDS ON SharePoint
 HANDS ON Teams
 HANDS ON Lists
 HANDS ON tek
 M365 Admin
Manage SPFx extensions from macOS with Office 365 CLI
SPFx extensions are used to customize the modern SharePoint user experience, built using script frameworks they can be built using any operating system.
Currently there is no graphical interface to manage the extensions and all the operations need to be done from the command line using PowerShell.
Well it use to be like that but not anymore, with the Office 365 CLI you no longer need to use PowerShell and Windows to manage the extensions if you are a macOS or Linux user you can do it directly from your native operating system.
Note: In this article, I’ll use one of the Google Analytics extensions that I built in this article.
How to manage Office 365 from macOS
To manage Office 365 from macOS you first need to install the Office 365 CLI, to do it open the terminal and execute the command below.
npm i -g @pnp/office365-cli
Install SPFx extensions
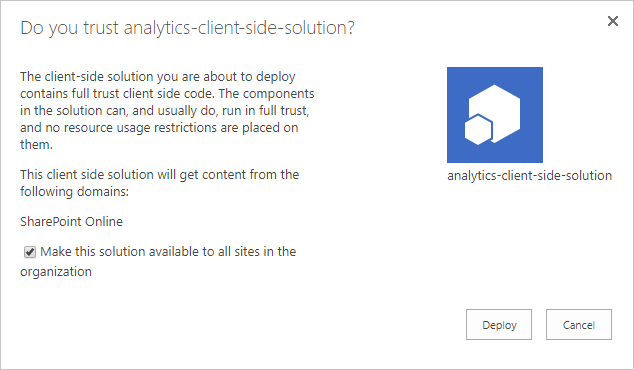
- Open your App Catalog and upload the sppkg file, the Google Analytics file can be downloaded from here
- Check the box Make this solution available to all sites in the organization
Activate SPFx extensions from macOS
- Open the terminal and type
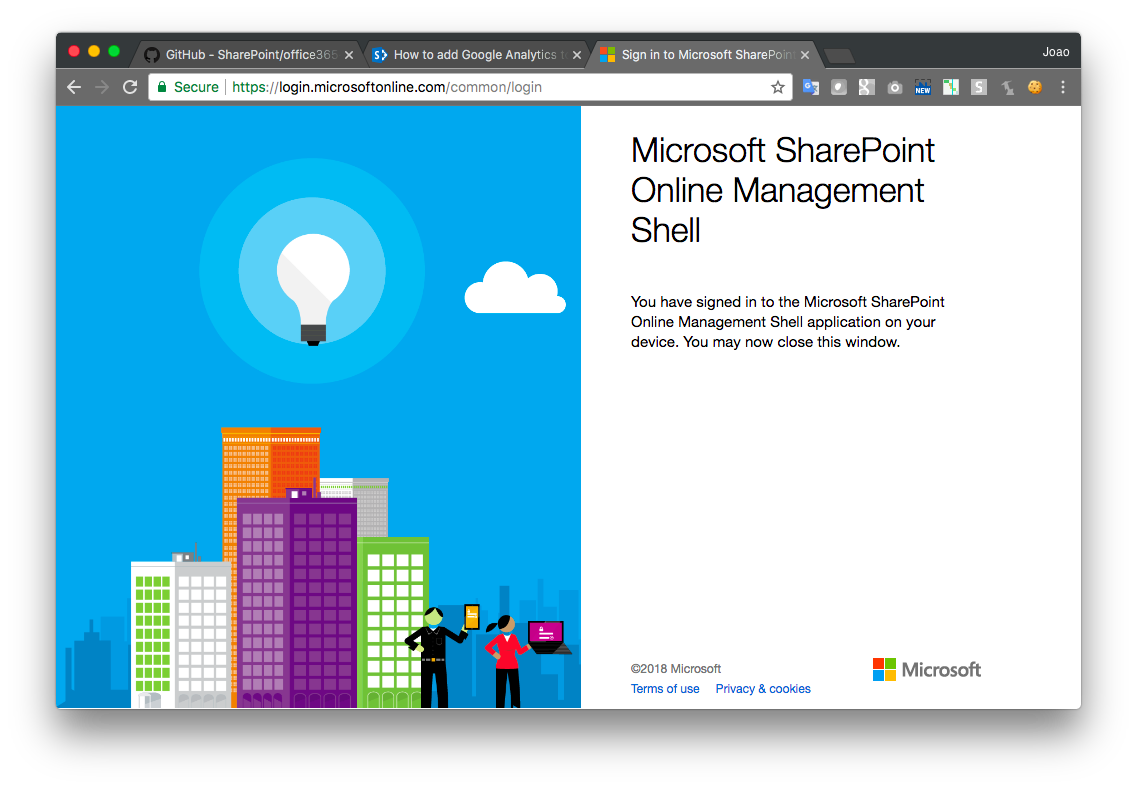
office365to start the Office 365 CLI - To connect to the SharePoint site collection where the extension will be activated type the command bellow
spo connect https://contoso.sharepoint.com/ - Copy the code provided and open the link in the browser to do the authentication
- To enable the Application Customizer extension type the command bellow
spo customaction add -u https://contoso.sharepoint.com/ -t "Analytics" -n "Analytics" -l "ClientSideExtension.ApplicationCustomizer" -c 9811e000-540c-479c-8436-1cb4c4fd0484 -p '{"trackingID":"UA-92611503-1"}' -s Site
Options used in the command:
-u, Url of the site or site collection to add the custom action
-n, The name of the custom action
-t, The title of the custom action
-l, The actual location where this custom action need to be added like ” ClientSideExtension.ApplicationCustomizer”
-c, The Client Side Component Id (GUID) of the custom action
-s, Scope of the custom action. Allowed values Site|Web. Default Web
-p, The Client Side Component Properties of the custom action. Specify values as a JSON string : “{Property1 : “Value1”, Property2: “Value2″}”
Deactivate SPFx extensions from macOS
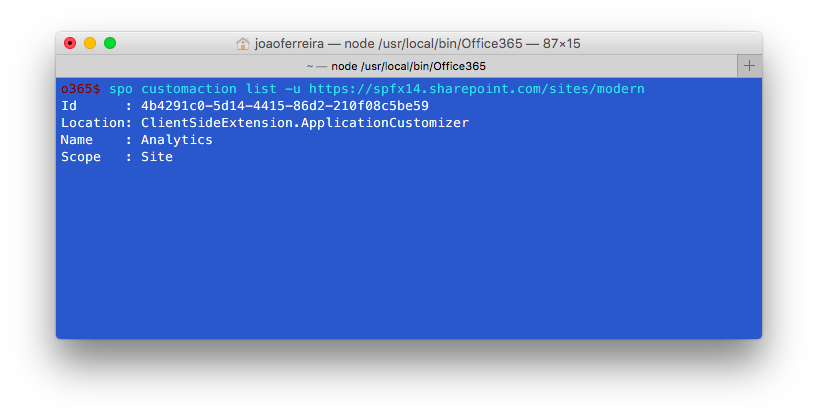
- To get all the enabled extensions type
- Copy the ID
- To remove the extension from the site type:
spo customaction remove -i 058140e3-0e37-44fc-a1d3-79c487d371a3 -u https://contoso.sharepoint.com/ --confirm
replace the GUID after the –I option by the ID of your extension
spo customaction list -u https://contoso.sharepoint.com/


June 10, 2019
Hi Alex,
Thanks for the feedback 🙂 The post was updated.