

 HANDS ON SharePoint
 HANDS ON Teams
 HANDS ON Lists
 HANDS ON tek
 M365 Admin
How to run different Node.js versions in the same machine to use with SPFx projects
As a developer when working on multiple SPFx projects it is common to use different version of the framework, depending on the SPFx version this may require the use of different Node.js versions.
In this article you will find instructions to easily manage and switch between Node.js versions using nvm (node version manage).

Install nvm (node version manage) on Windows
To install nvm on windows you should do the following:
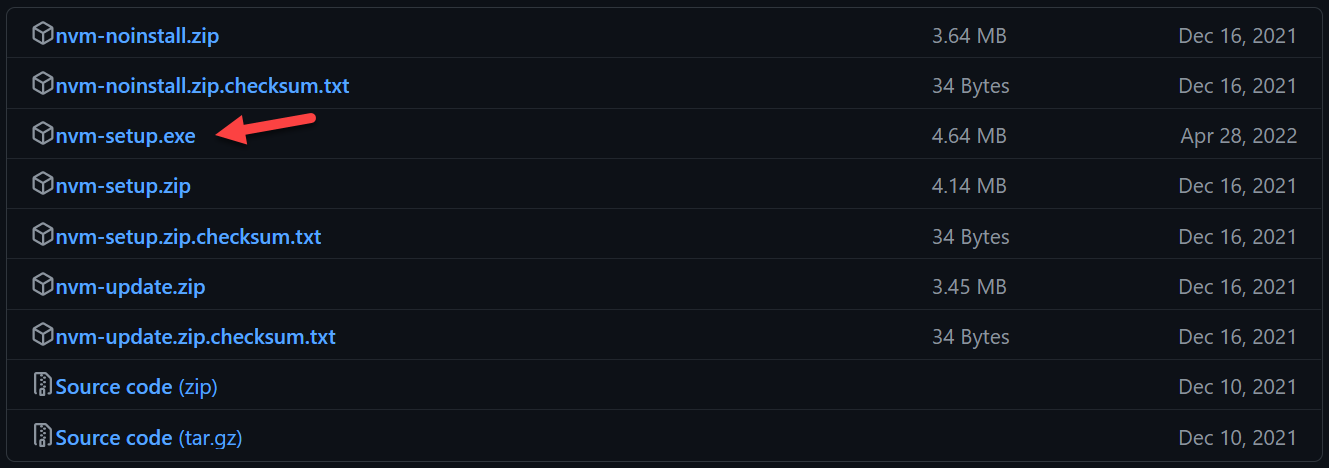
- Download the latest version of NVM from here
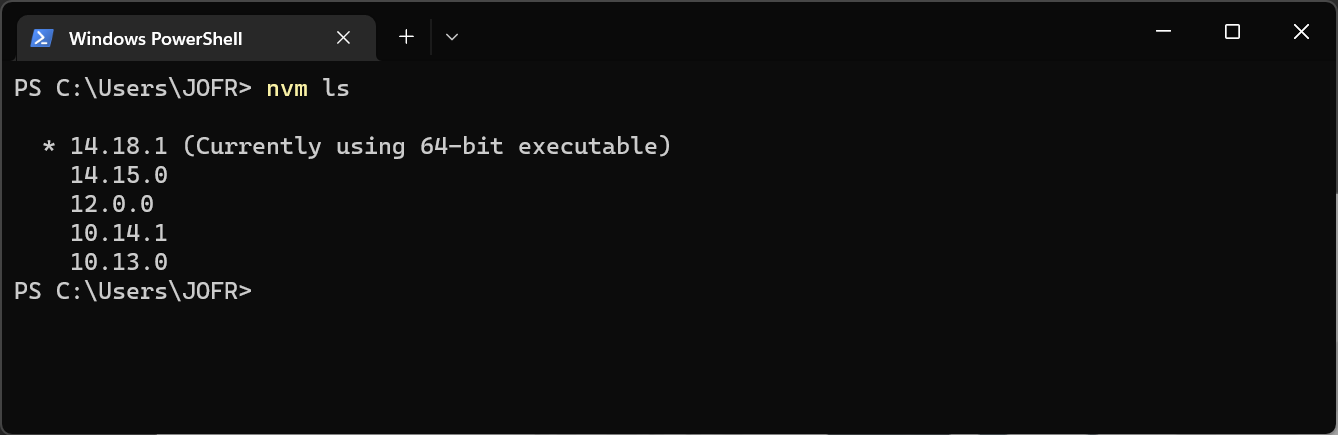
- Once installed open the PowerShell and execute the following cmdlet to check the node versions installed
nvm ls
Install and manage compatible Node.js version for SPFx projects
To check the Node.js versions supported by each version of the SharePoint framework, have a look to this awesome article from Hugo Bernier.
- To install the required Node.js version, open the PowerShell console and execute the following cmdlet
nvm install
Note: to check all the available Node.js versions have a look to the official node site here. - Repeat the above step for all the required versions you need for your SPFx projects
- To check all the installed Node.js versions in the system execute the following cmdlet
nvm ls
- To switch between versions from the PowerShell console execute the following cmdlet with one of the version numbers installed in your system
nvm use
With nvm you will be able to work on multiple projects on your local environment using different versions of the SharePoint framework.


No comments yet