

 HANDS ON SharePoint
 HANDS ON Teams
 HANDS ON Lists
 HANDS ON tek
 M365 Admin
How to Install SharePoint 2019 step by step on Hyper-V | Part 3 of 5
Installing SharePoint On-prem is not a straight forward task and there are a lot of requirements and dependencies involved in the process.
In this article you will find visual instructions to install it on a Hyper-V virtual machine; an installation like this should be used just for testing or development purposes.

This article has 5 different sections that will guide you through the installation process step by step, in order to accomplish it you will need to:
- Install and Configure Hyper-V
- Install Windows Server 2019
- Install Active Directory Domain Services
- Install SQL Server 2017
- Install SharePoint 2019
Install Active Directory Domain Services
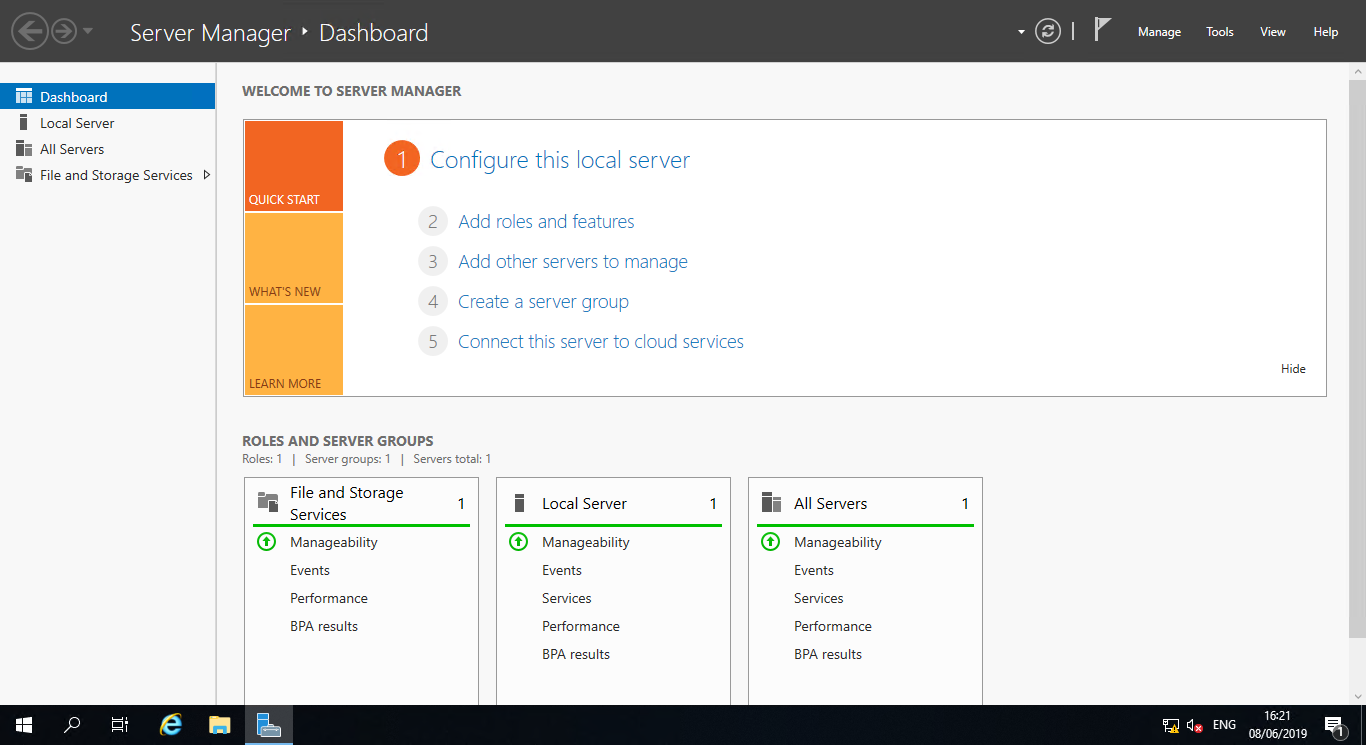
- On the server manager click on Add roles and features
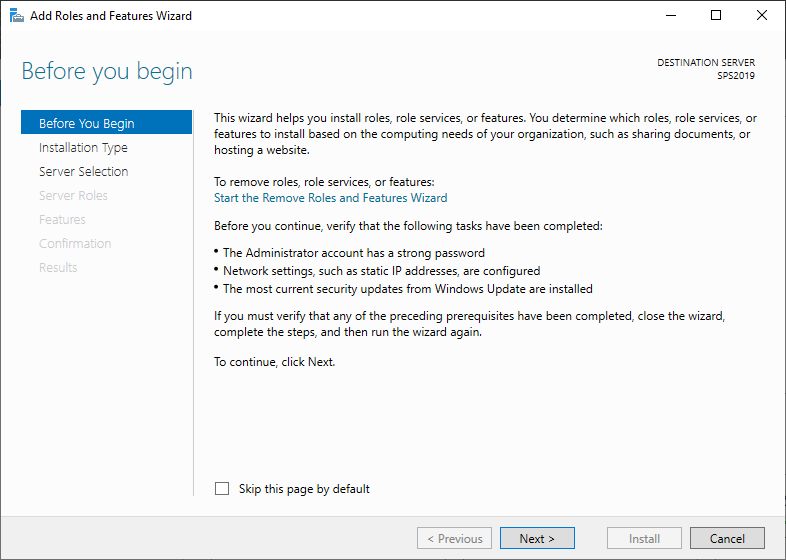
- On the before you begin step click next
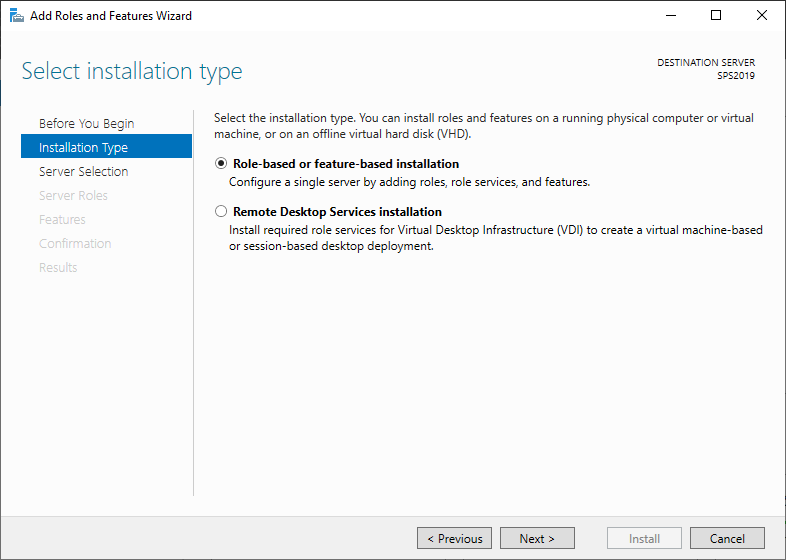
- On the installation type select Role-based or feature-based installation and click next
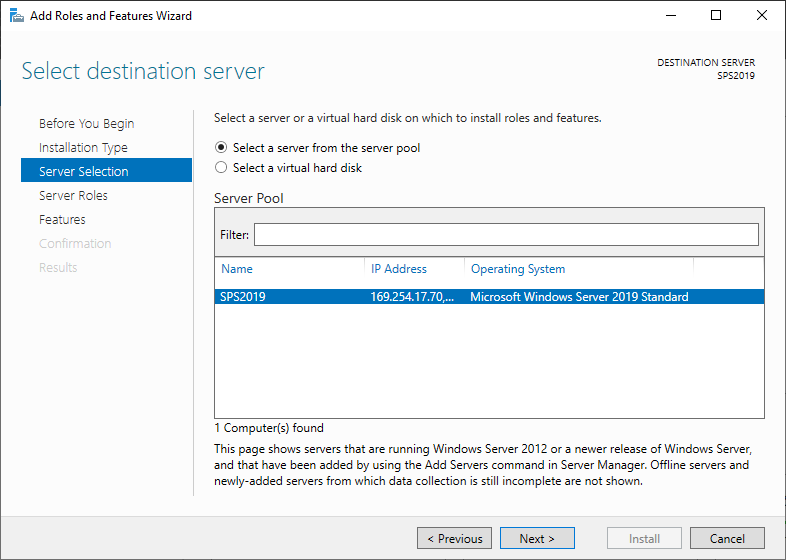
- On the Server Selection click next, there will be only one server listed with the name you gave to your computer
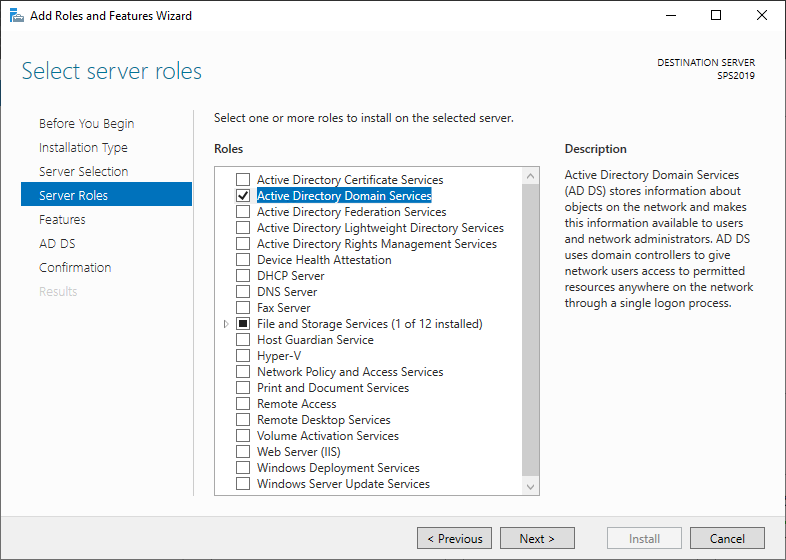
- On the Server Roles select the Active Directory Domain Services

- On the Add Roles and Features Wizard click on Add Features
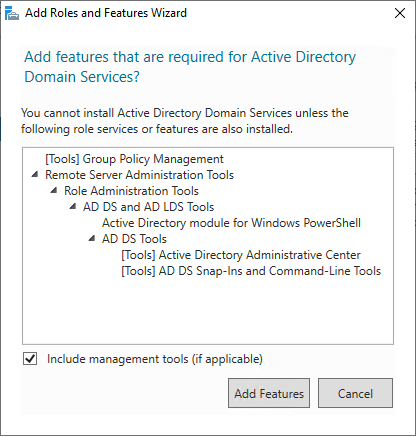
- Once you’ve installed the features click on next
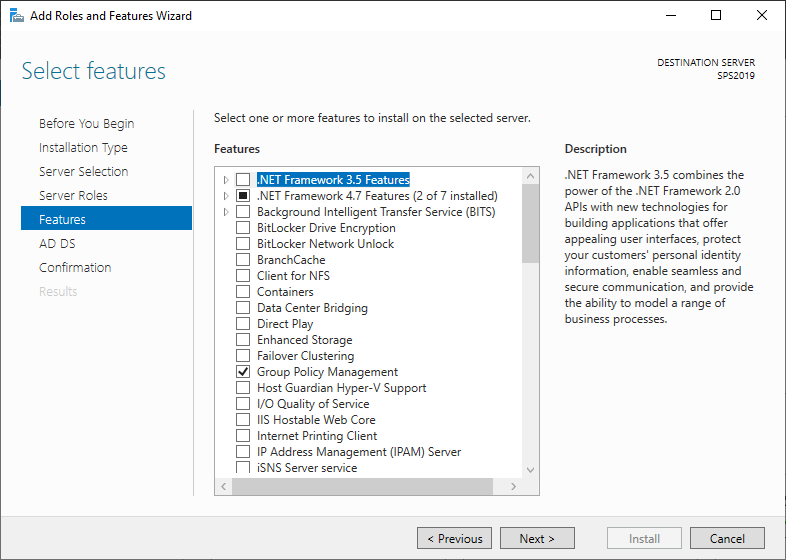
- On the Features click next
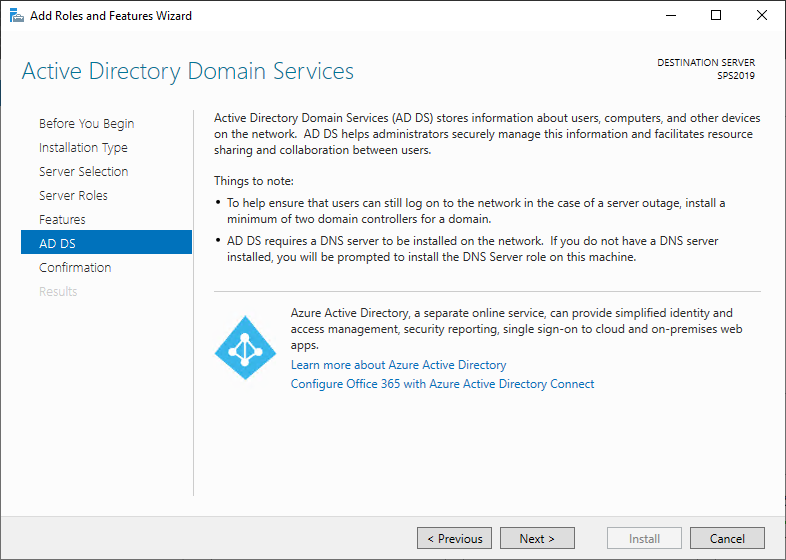
- On the AD DS screen click next
- Check the option to restart the server if required and click on Install
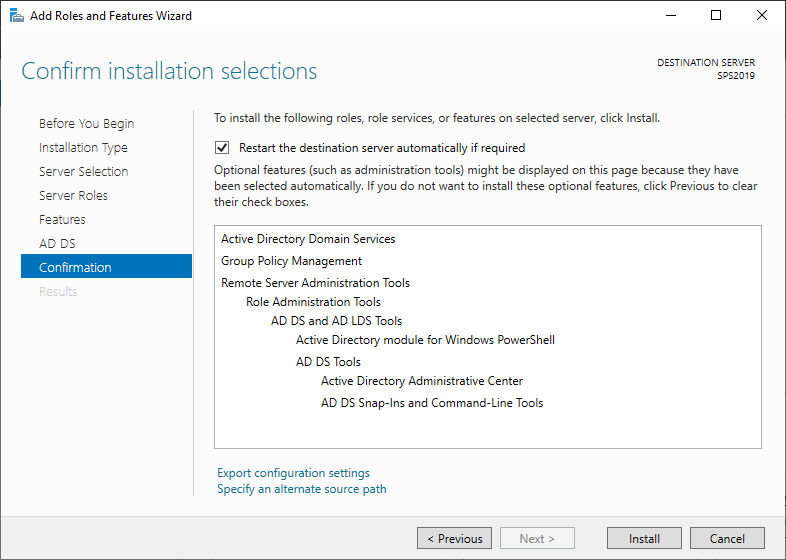
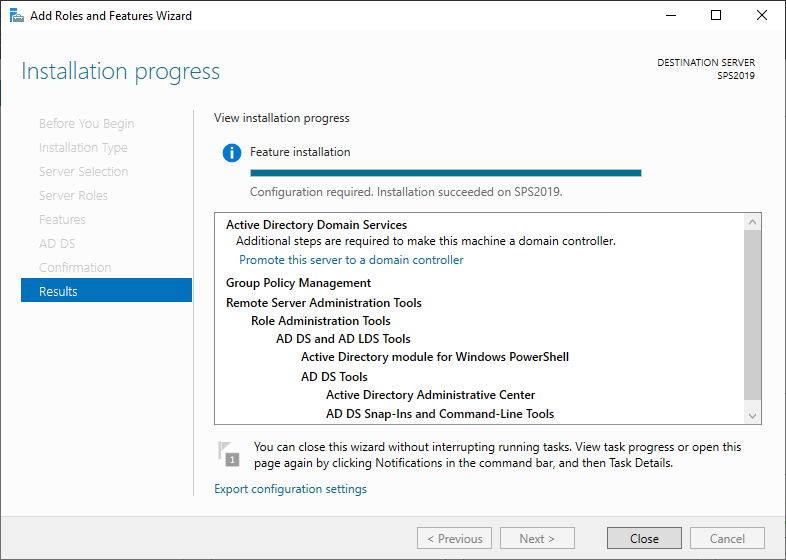
- The installation process will take a few minutes

- Once the configuration finished click on the link Promote this Server to a Domain Controller
- On the Deployment Configuration select Add a new forest, type a root domain name and then click Next

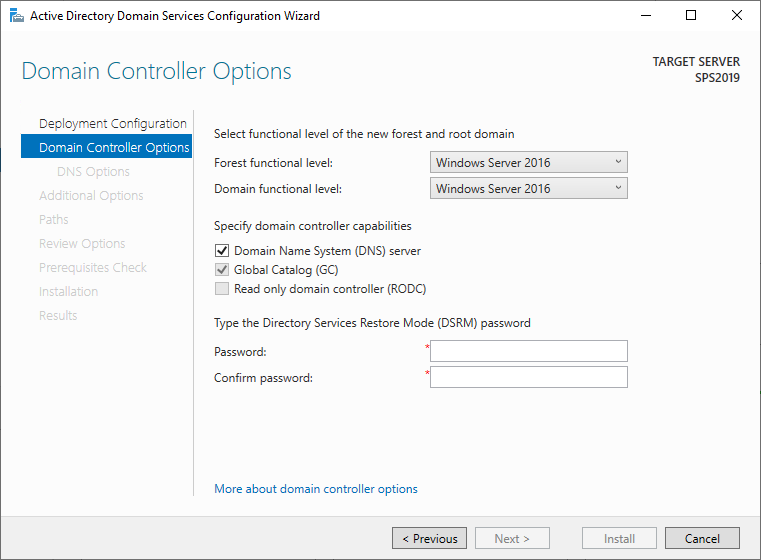
- On the Domain Controller Options type a password
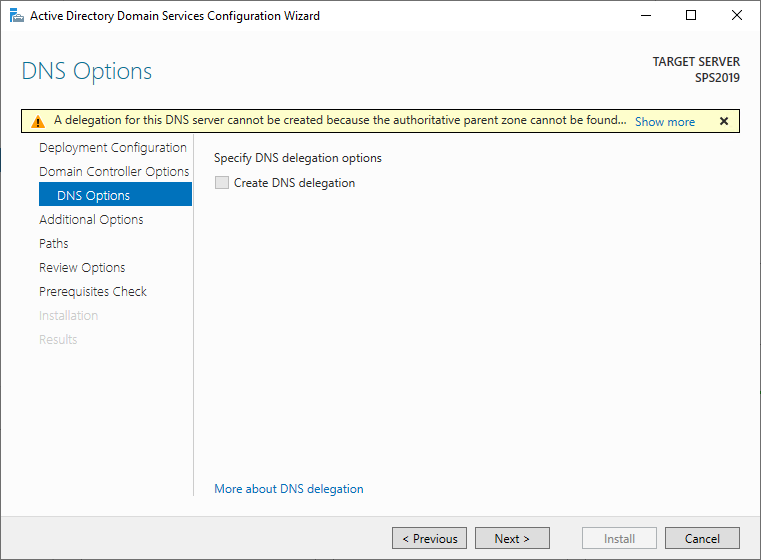
- On the DNS Options you will be prompted with a warning, but you can ignore it and click next
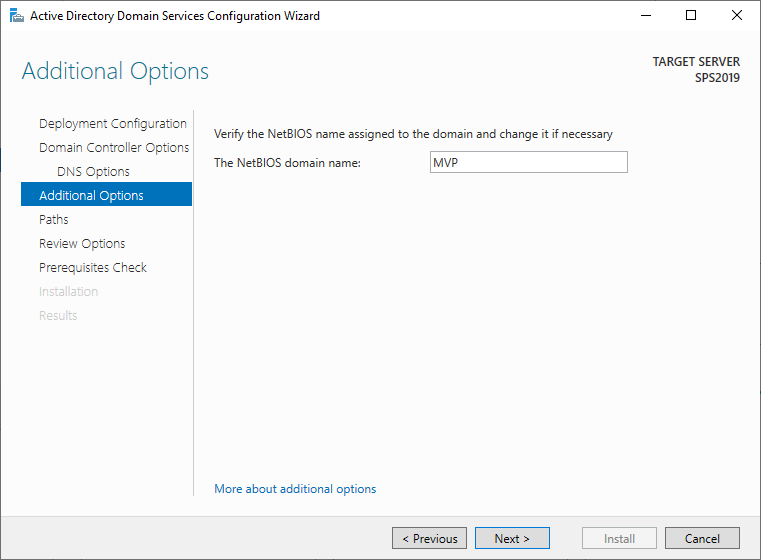
- On the Additional Options verify the NetBIOS name and click Next
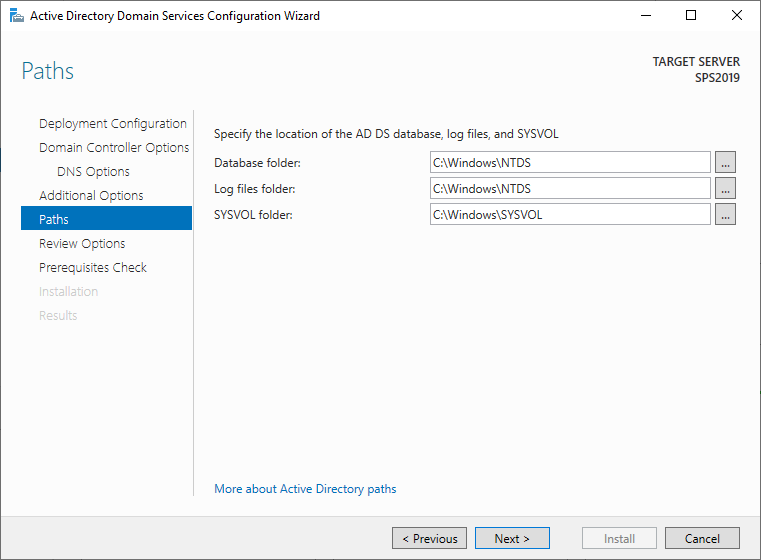
- On the Paths leave the default values and click next
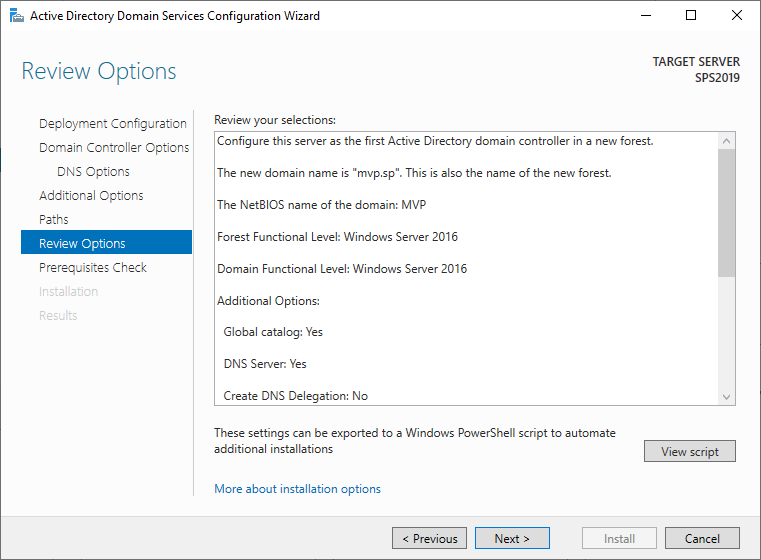
- On the Review Options click next
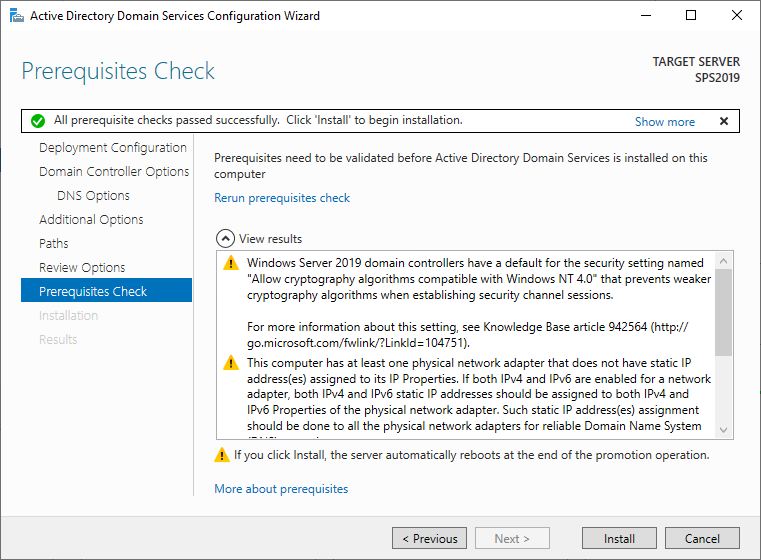
- On the Prerequisites Check click on Install, this process will take a few minutes and the server will restart
- Once the installation ends you will need to sign in on the server, if everything went well you will see the domain name in the login window

Proceed to the Active Directory Domain Services installation


October 7, 2020
Hello, I followed your steps, one-by-one… but I have a big problem about the connection to the internet. I can’t access the internet, I can’t connect to the internet, and so I can’t install the SharePoint Prerequisites.
Any idea how I can I make it work?
October 7, 2020
Make sure you follow the steps on Part1 you need to configure the vm following those instructions to have internet connection