

 HANDS ON SharePoint
 HANDS ON Teams
 HANDS ON Lists
 HANDS ON tek
 M365 Admin
How to Install SharePoint 2019 step by step on Hyper-V | Part 5 of 5
Installing SharePoint On-prem is not a straight forward task and there are a lot of requirements and dependencies involved in the process.
In this article you will find visual instructions to install it on a Hyper-V virtual machine; an installation like this should be used just for testing or development purposes.

This article has 5 different sections that will guide you through the installation process step by step, in order to accomplish it you will need to:
- Install and Configure Hyper-V
- Install Windows Server 2019
- Install Active Directory Domain Services
- Install SQL Server 2017
- Install SharePoint 2019
Install SharePoint 2019
The installation of SharePoint it self can bring some challenges and I’ve experienced different behaviors doing the same installation process. If during the steps described below you run into any issue it was most likely addressed by Lise Rasmussen on her article about all the issue she found on step 5.
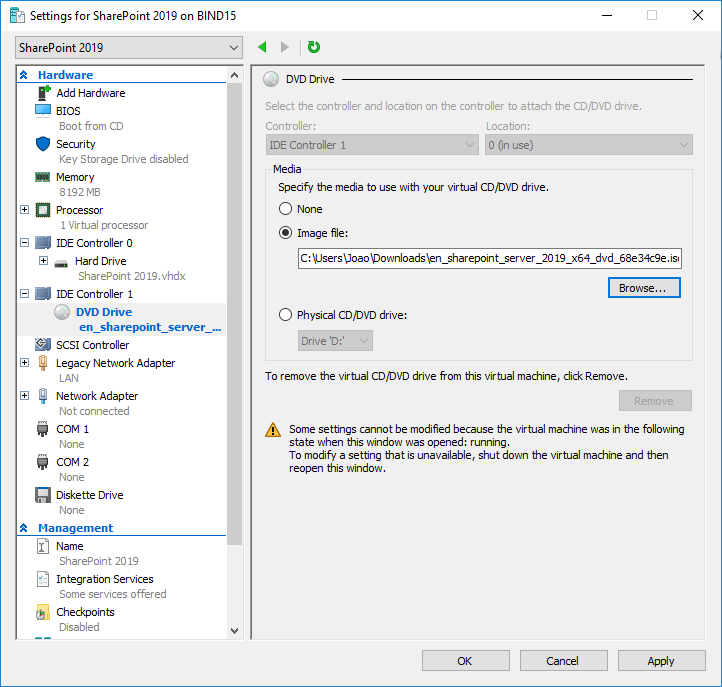
- Load the SharePoint 2019 ISO into the virtual machine
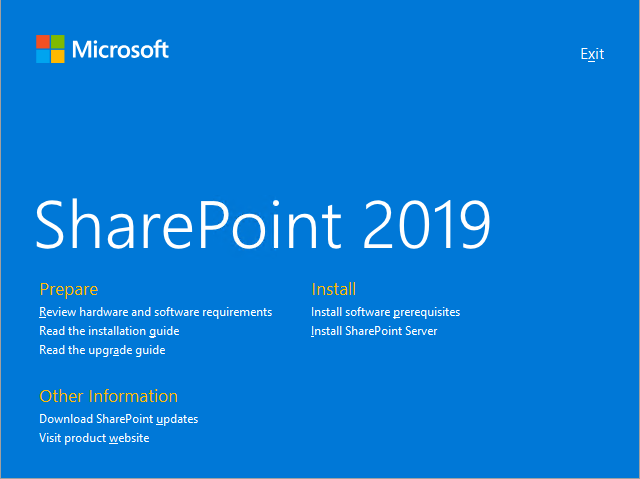
- Double click on the CD-ROM drive to open the installation wizard
- Click on Install software prerequisites
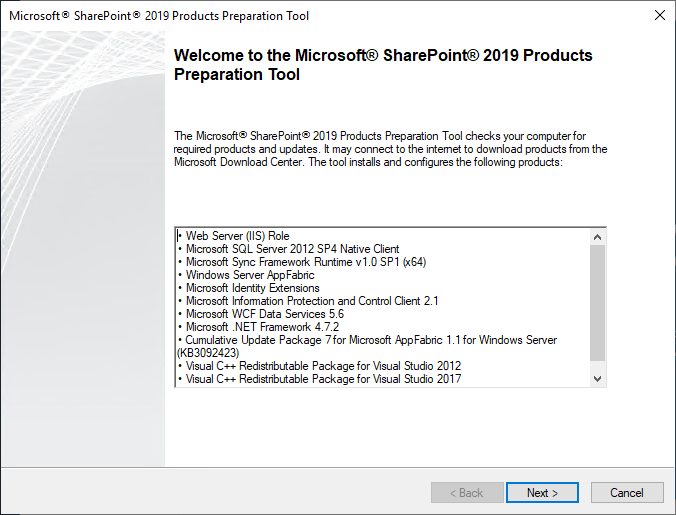
- On the preparation toll click next
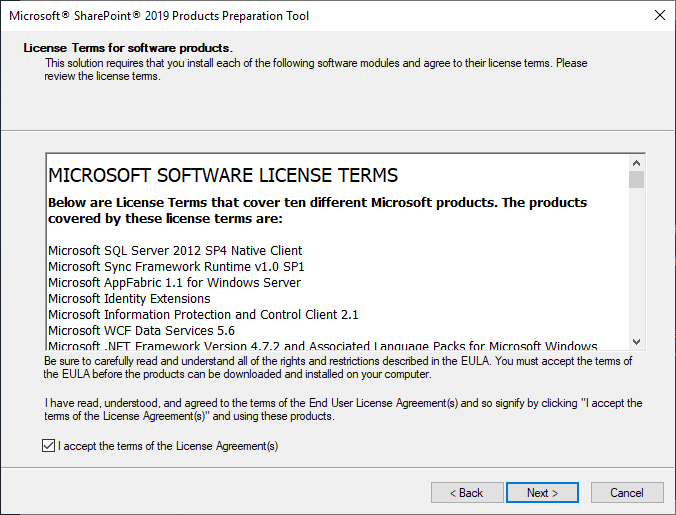
- Accept the terms and click next. If you run into an error where the tool is not able to install everything follow the instructions here to fix it.
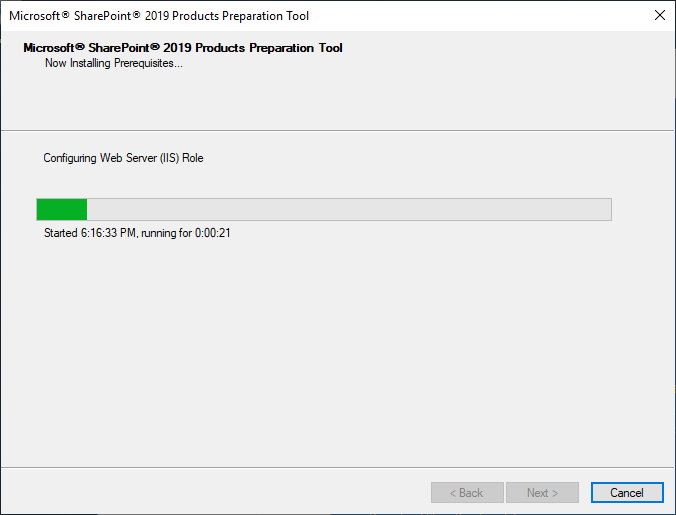
- Wait a few minutes while the setup configures the environment
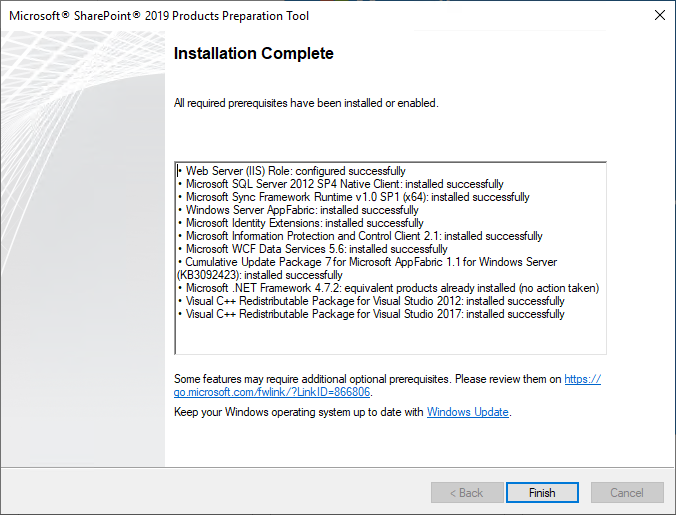
- Once the process ends click on Finish and restart the server
- Back to the installation wizard now click on Install SharePoint Server

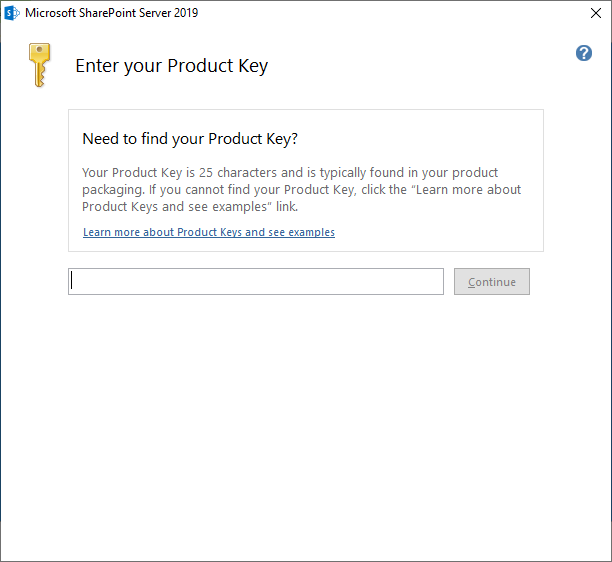
- Enter your SharePoint 2019 product key
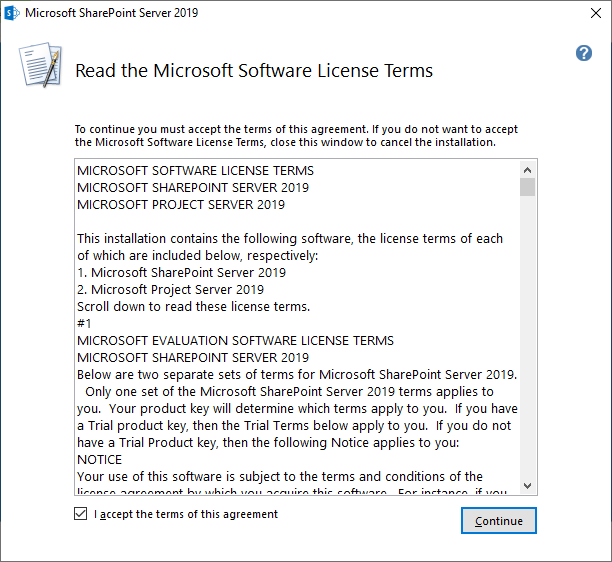
- Accept the software License Terms
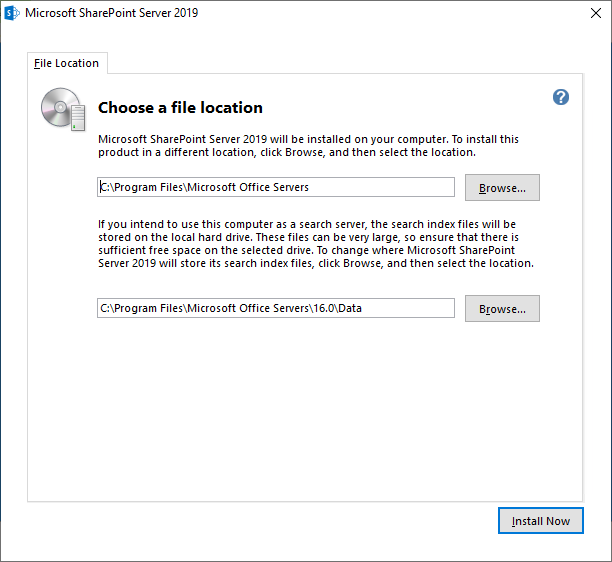
- Choose the location for the files and click Install Now
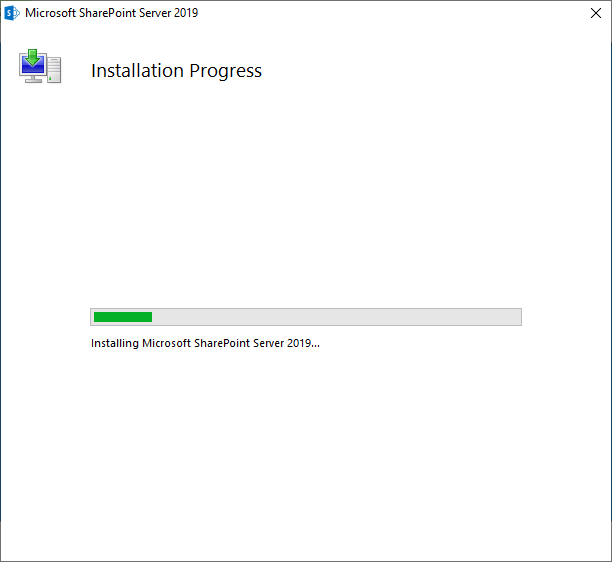
- The installation will take a while to compete
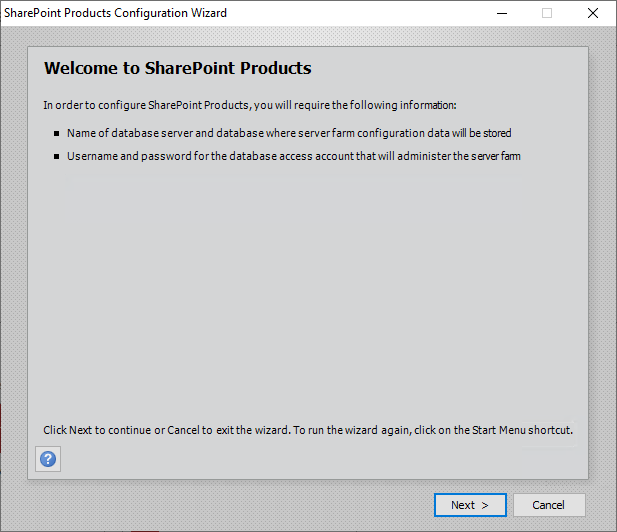
- Click on close and the SharePoint Configuration Wizard will open after a system reboot

- Click on next
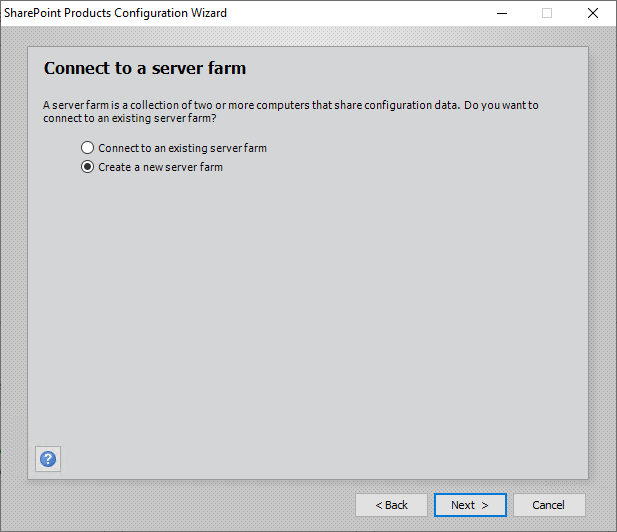
- Select Create a new server farm
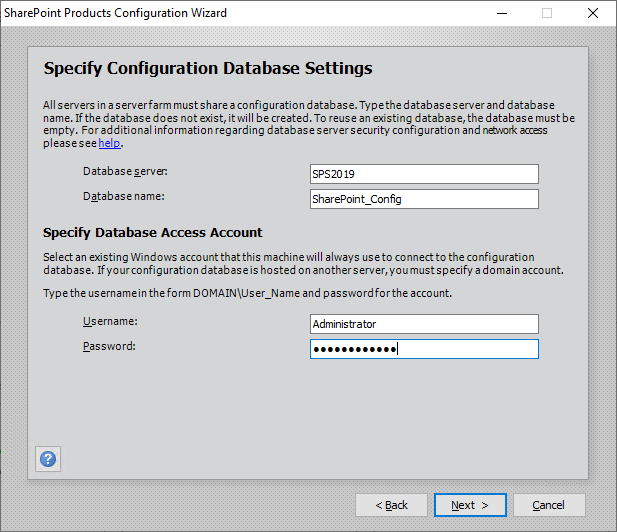
- Setup the Database details
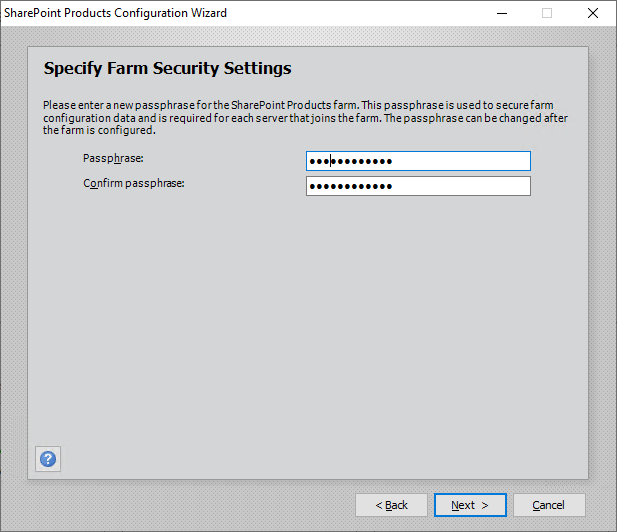
- Setup a Passphrase
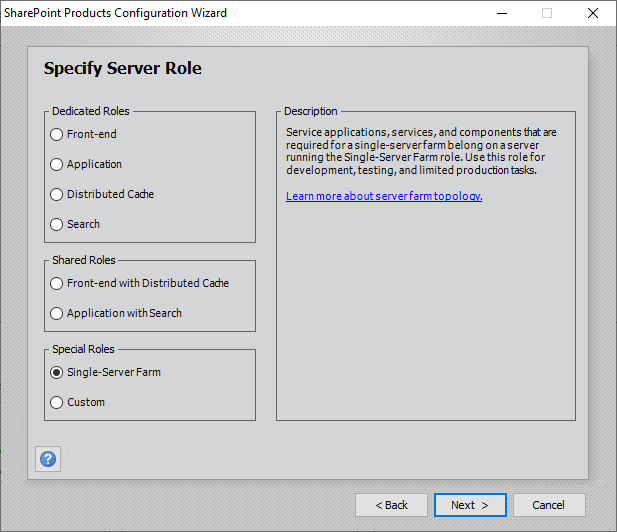
- Select Single-Server Farm role
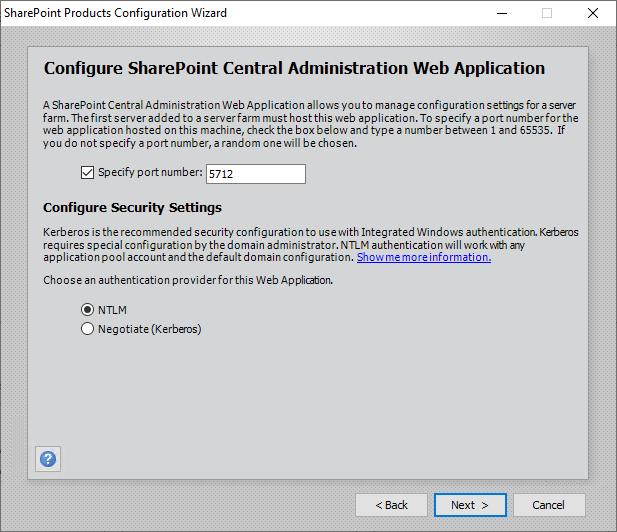
- Specify the port number to the central administration
- Confirm all the settings are correct and click Next
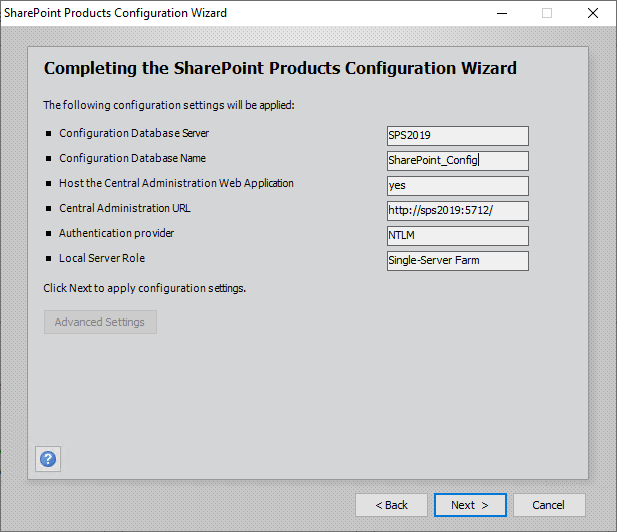
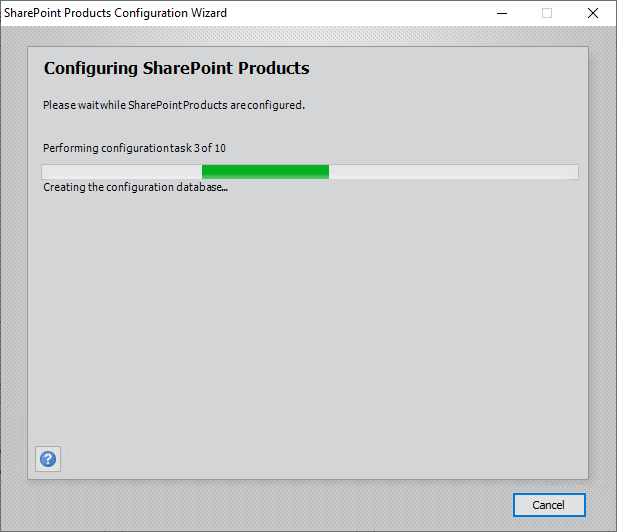
- The configuration wizard will configure the SharePoint products
- Click on Finish

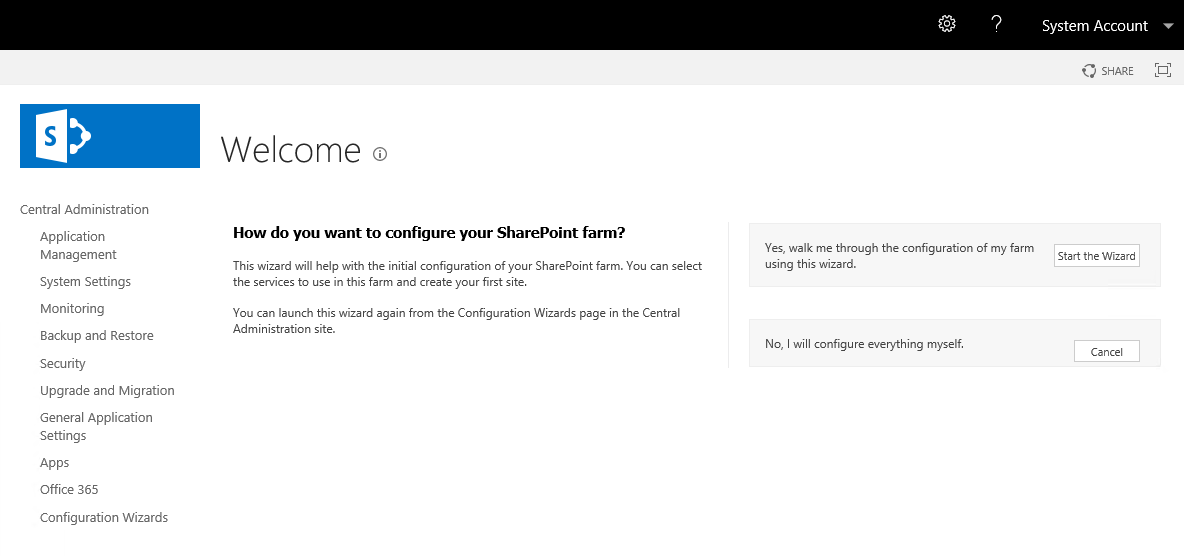
- Login into the Central Administration, and click on Start the wizard
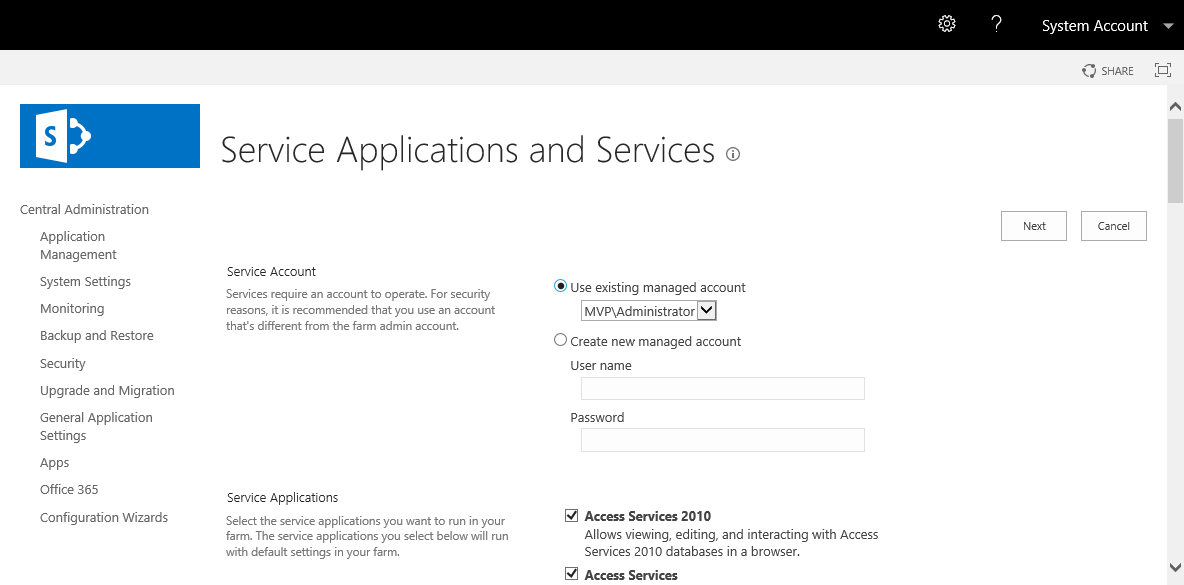
- Select the Service Applications and Services
- Create the root site collection and start using SharePoint


No comments yet