How to build an interactive library using SharePoint Spaces
SharePoint Spaces have been introduced almost two years ago and finally we can start playing with the preview version. If you are not yet familiar with the Spaces concepts you can read more about it here and here.
To test how SharePoint Spaces work I’ve built an interactive library inside my library site collection, the idea is to display the CompartiMOSS magazines with a modern and futuristic interface. Let’s see how it was made and how you can also use Spaces to build something similar.
SharePoint spaces are disabled by default, to enable this feature follow the steps described here.

How to build a SharePoint Space
Once you get Spaces enabled it’s time to start building the actual library by doing the following:

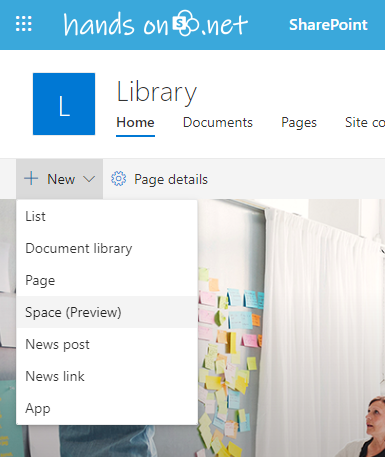
- On the root site of your site collection click on New and then click on Spaces (Preview)
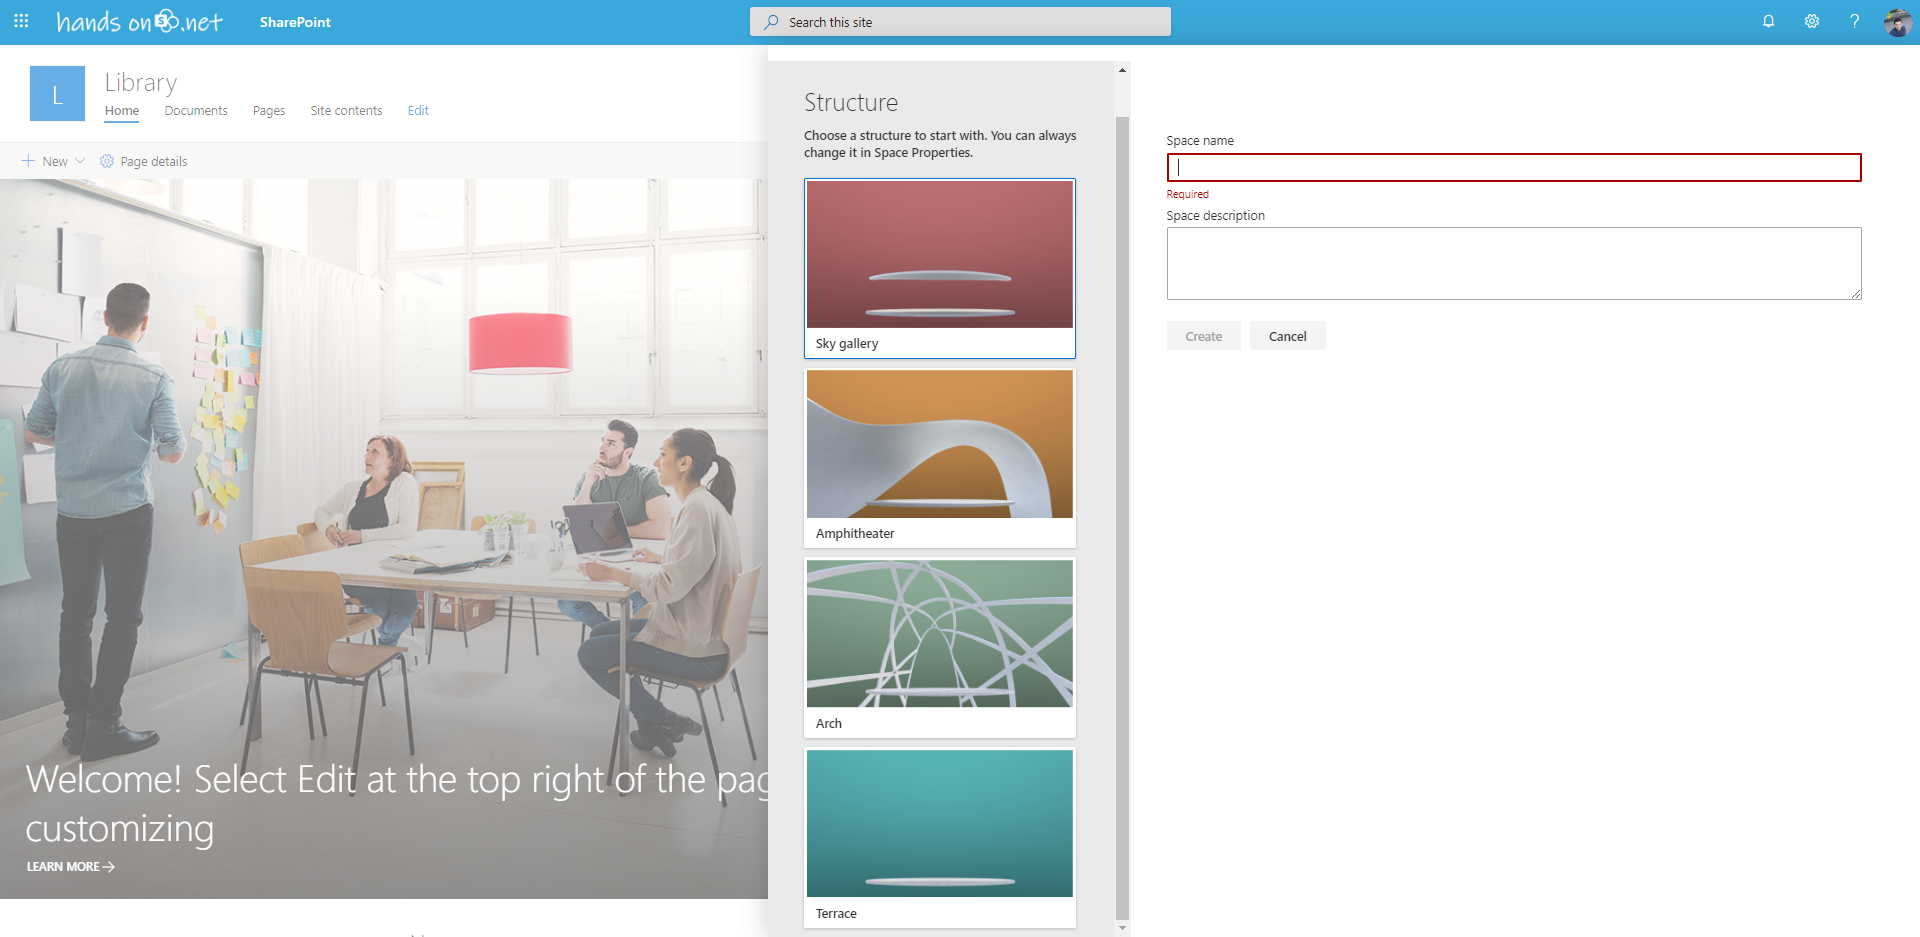
- Provide a name and a description for your Space and select the Structure. The structure will be stage for your content and can be modified at any time while building the Space.
- Before adding content to your scene check out what you can do with, to edit the space properties click on the Space design in the toolbar
- From the Space design pane you can modify the following settings:
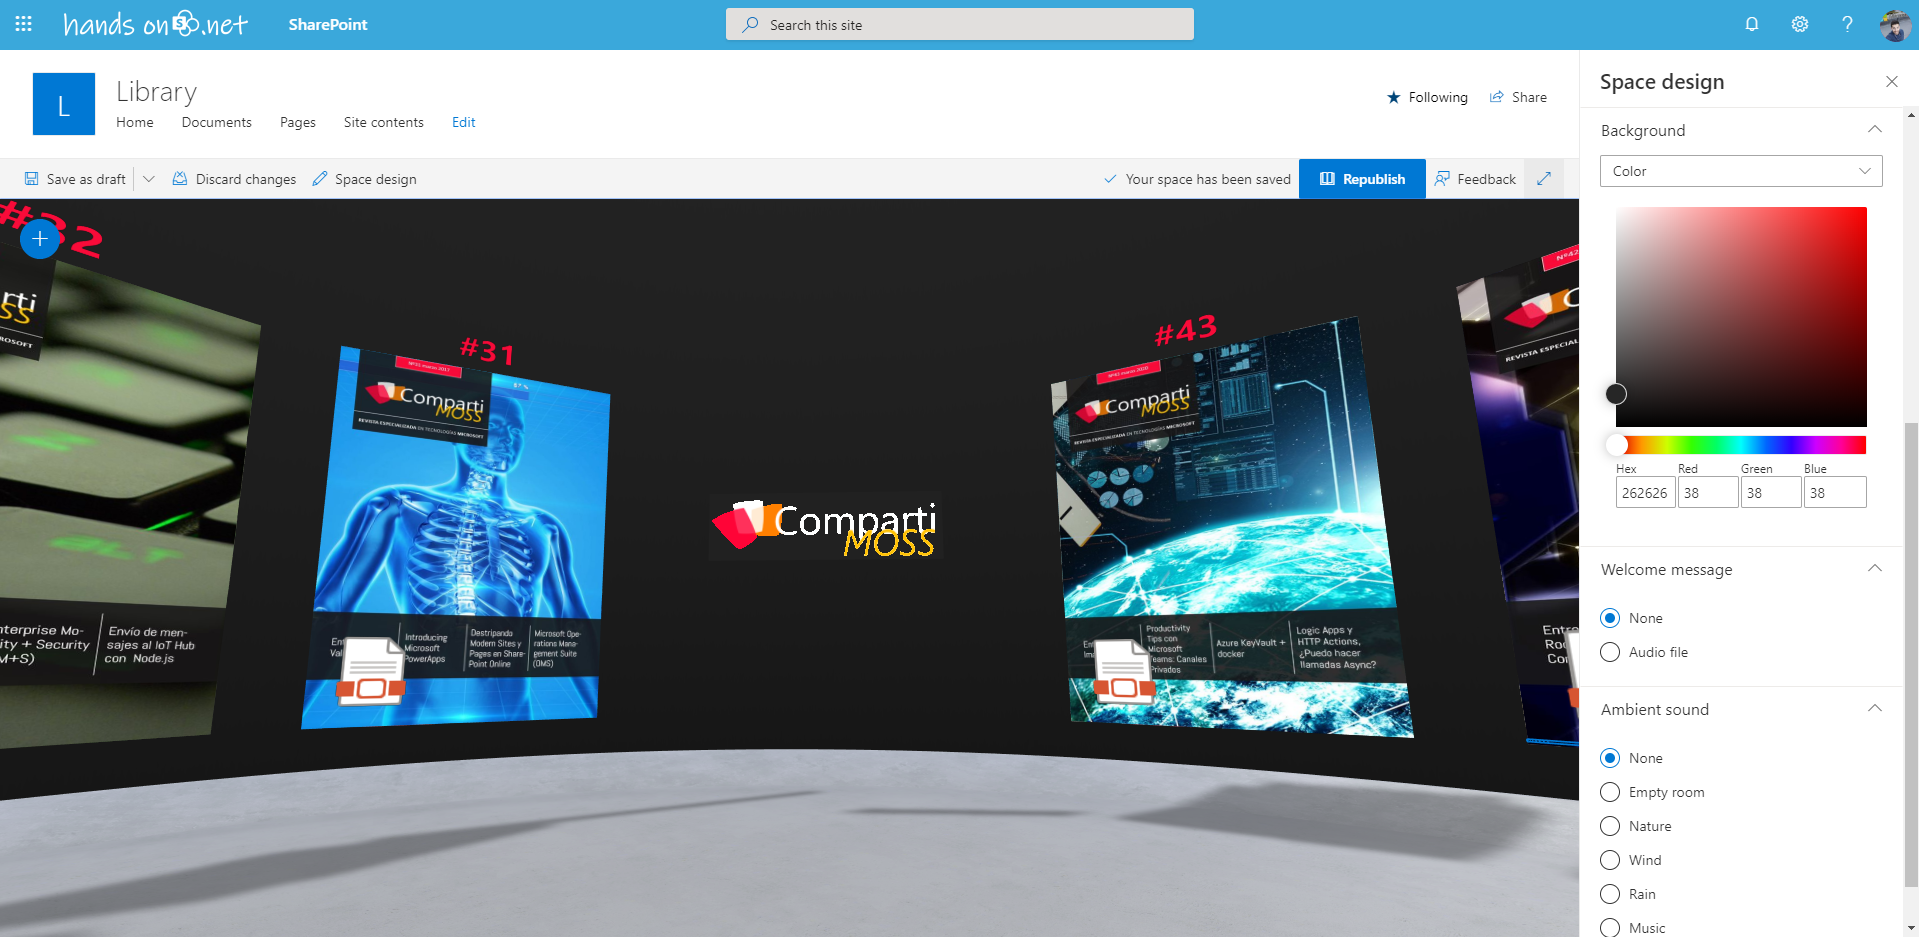
- The original details: Name, Description and Structure
- The background: Here you can use a solid color, one of the 360º images available or use your own 360º image
- Welcome message: You can select an audio file to welcome who opens the space
- Ambient sound: There are 5 ambient sounds available by default and you can also upload your own
- Now that you have your space design defined is time to start building it, Spaces are built using web parts that are available when you click in the + circle. Currently there are 9 web parts available:
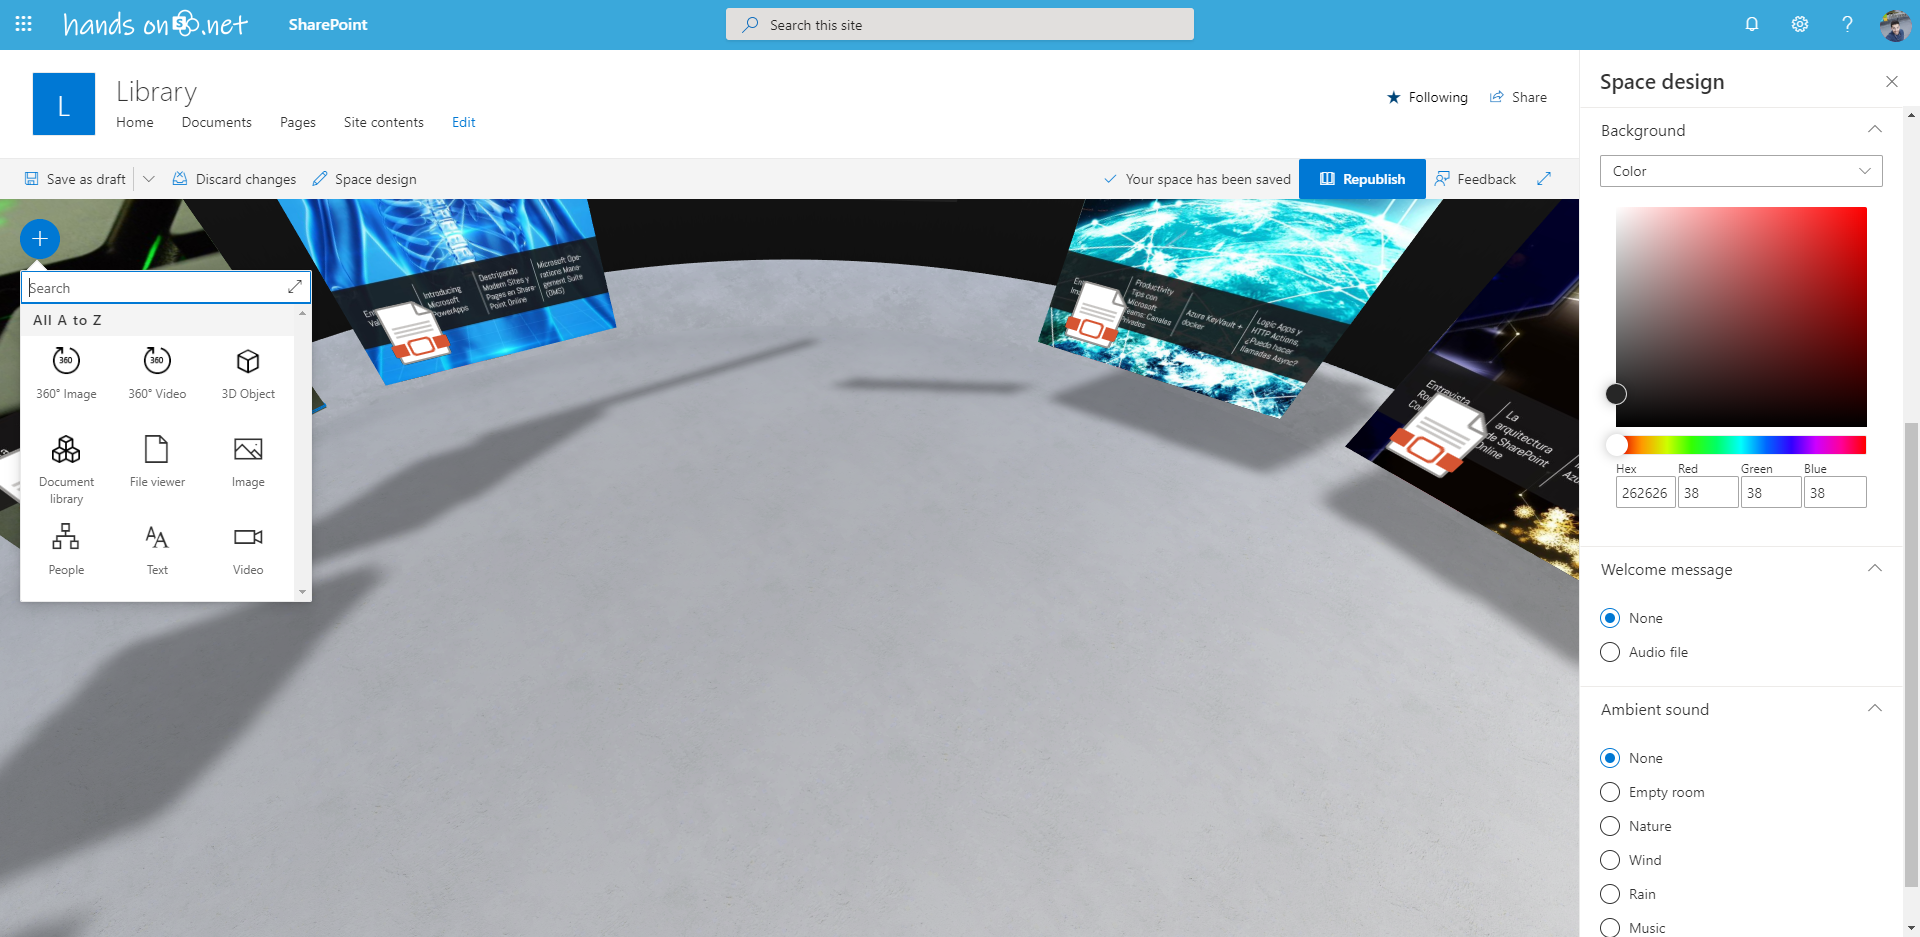
- 360º Image
- 360º Video
- 3D Object
- Document Library
- File Viewer
- Image
- People
- Text
- Video
- To build the interactive library I’ve used 3 of them:
- Image – To display the compartiMOSS magazine logo
- File Viewer – To display the magazine PDF
- Text – To display the number of the magazine
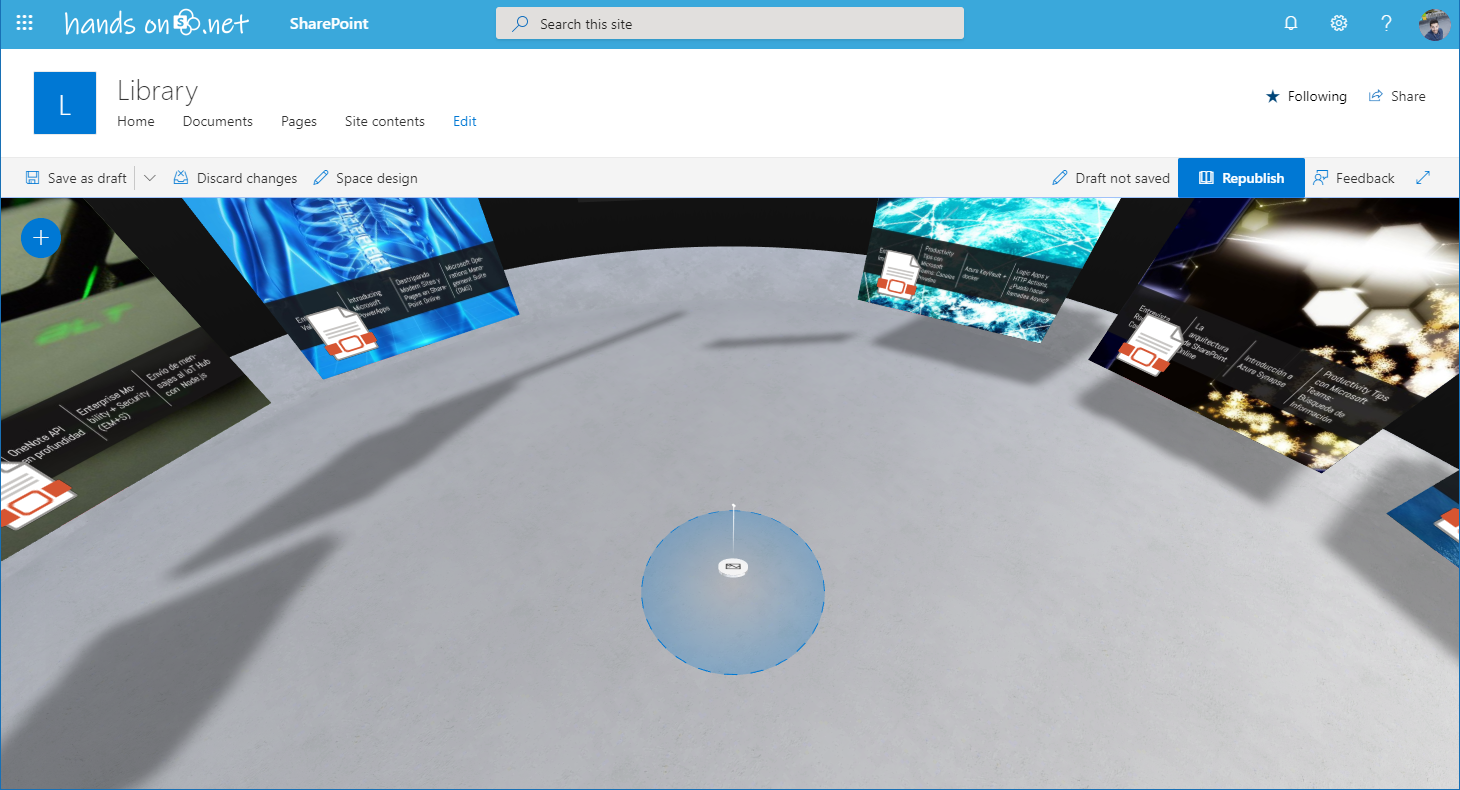
- Start by adding the image for the logo, when you add a web part to spaces you will have to positioning it in the stage, the position is highlighted with a blue circle. Once added the property pane with the correspondent options opens automatically.
- Select the location of image and adjust the position if needed. Positions can be adjusted by dragging the object or by using the bar at the bottom of the screen. This bar comes handy to align multiple objects in the Space, from it you can fine tune the:
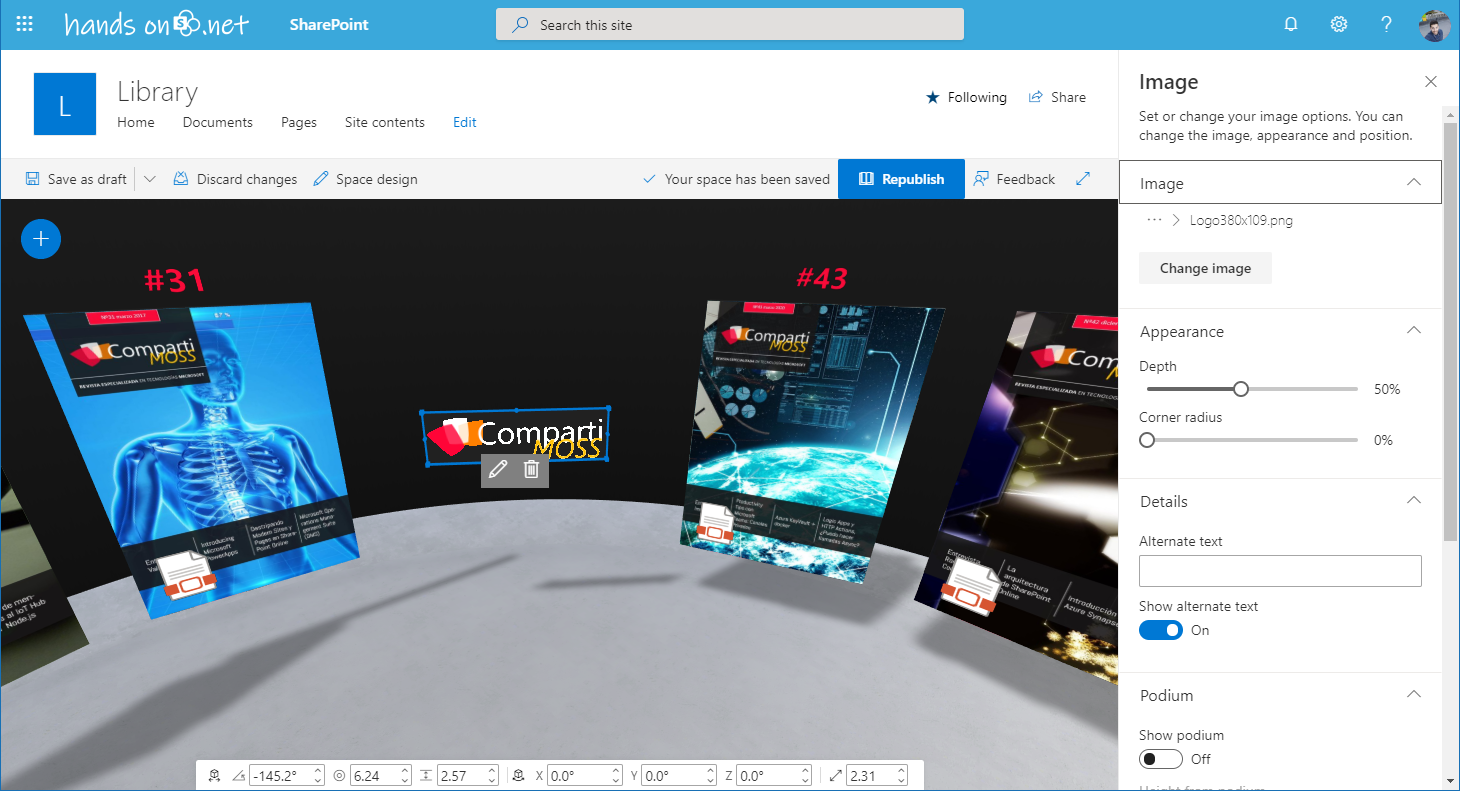
- Angle
- Distance from user
- Height
- Rotation X
- Rotation Y
- Rotation Z
- Scale
- Add the File Web Part and select your document, since all the magazines are in the PDF format the front cover is displayed by default
- Define the height, size and distance from user for your file, use the same values for all the files, this way you will be able to keep them aligned
- Add the text web part and format it. Like the file define the height, size and distance from user and repeat them for all the users
- Repeat step 9 to 11 for each file of the library and once finished hit the Publish button
Conclusion
Even though SharePoint Spaces are still in preview and the solution that I’m presenting here might not be the typical solution that Microsoft envisioned for this product I think it still worth the time of exploring. With it you will find new ways to present data already existent in your tenant and I’m sure your users will find it super fun.

 HANDS ON tek
 M365 Admin





No comments yet