

 HANDS ON SharePoint
 HANDS ON Teams
 HANDS ON Lists
 HANDS ON tek
 M365 Admin
Building a SharePoint intranet with ChatGPT and Bing – Events calendar
One of the features mentioned by both Chat GPT and Bing when I asked about what features to add to a SharePoint intranet landing page, was the events calendar.
This one seems obvious but having a classic monthly or weekly calendar view in an intranet landing page wastes a lot of valuable space and does not add much value. Instead of using the traditional calendar I’m using instead the modern and good-looking events web part.

How to add an Events web part to a SharePoint site
The SharePoint Events web part allows users to display events from a SharePoint calendar on a site page, providing just the information related with each one of the events.
To add an Events web part to a SharePoint site, do the following:
- Edit the page where you want to add the Events web part
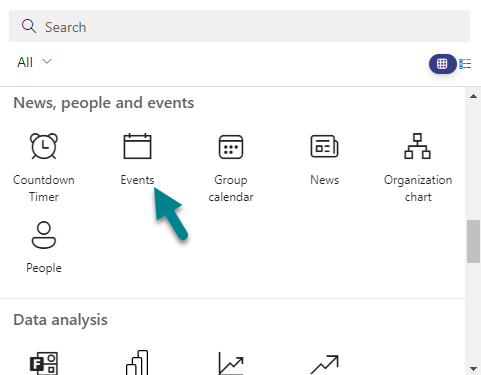
- In the section where you want to display the events, click on the + button to open the web part gallery
- Look for the Events web part under News, people and events and click on the web part
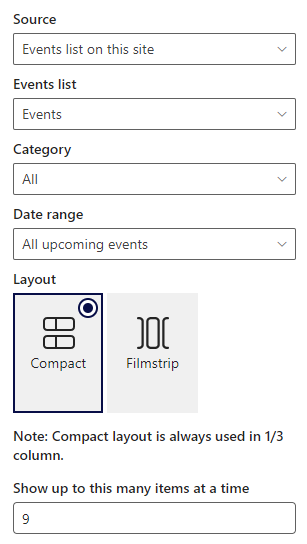
- Click in the pencil button to open the settings and customize the web part according to your needs, for this particular project I used the following settings:
- Display events from all categories
- Display all the upcoming events
- Compact layout
- Show a max of 9 events
- Show event images
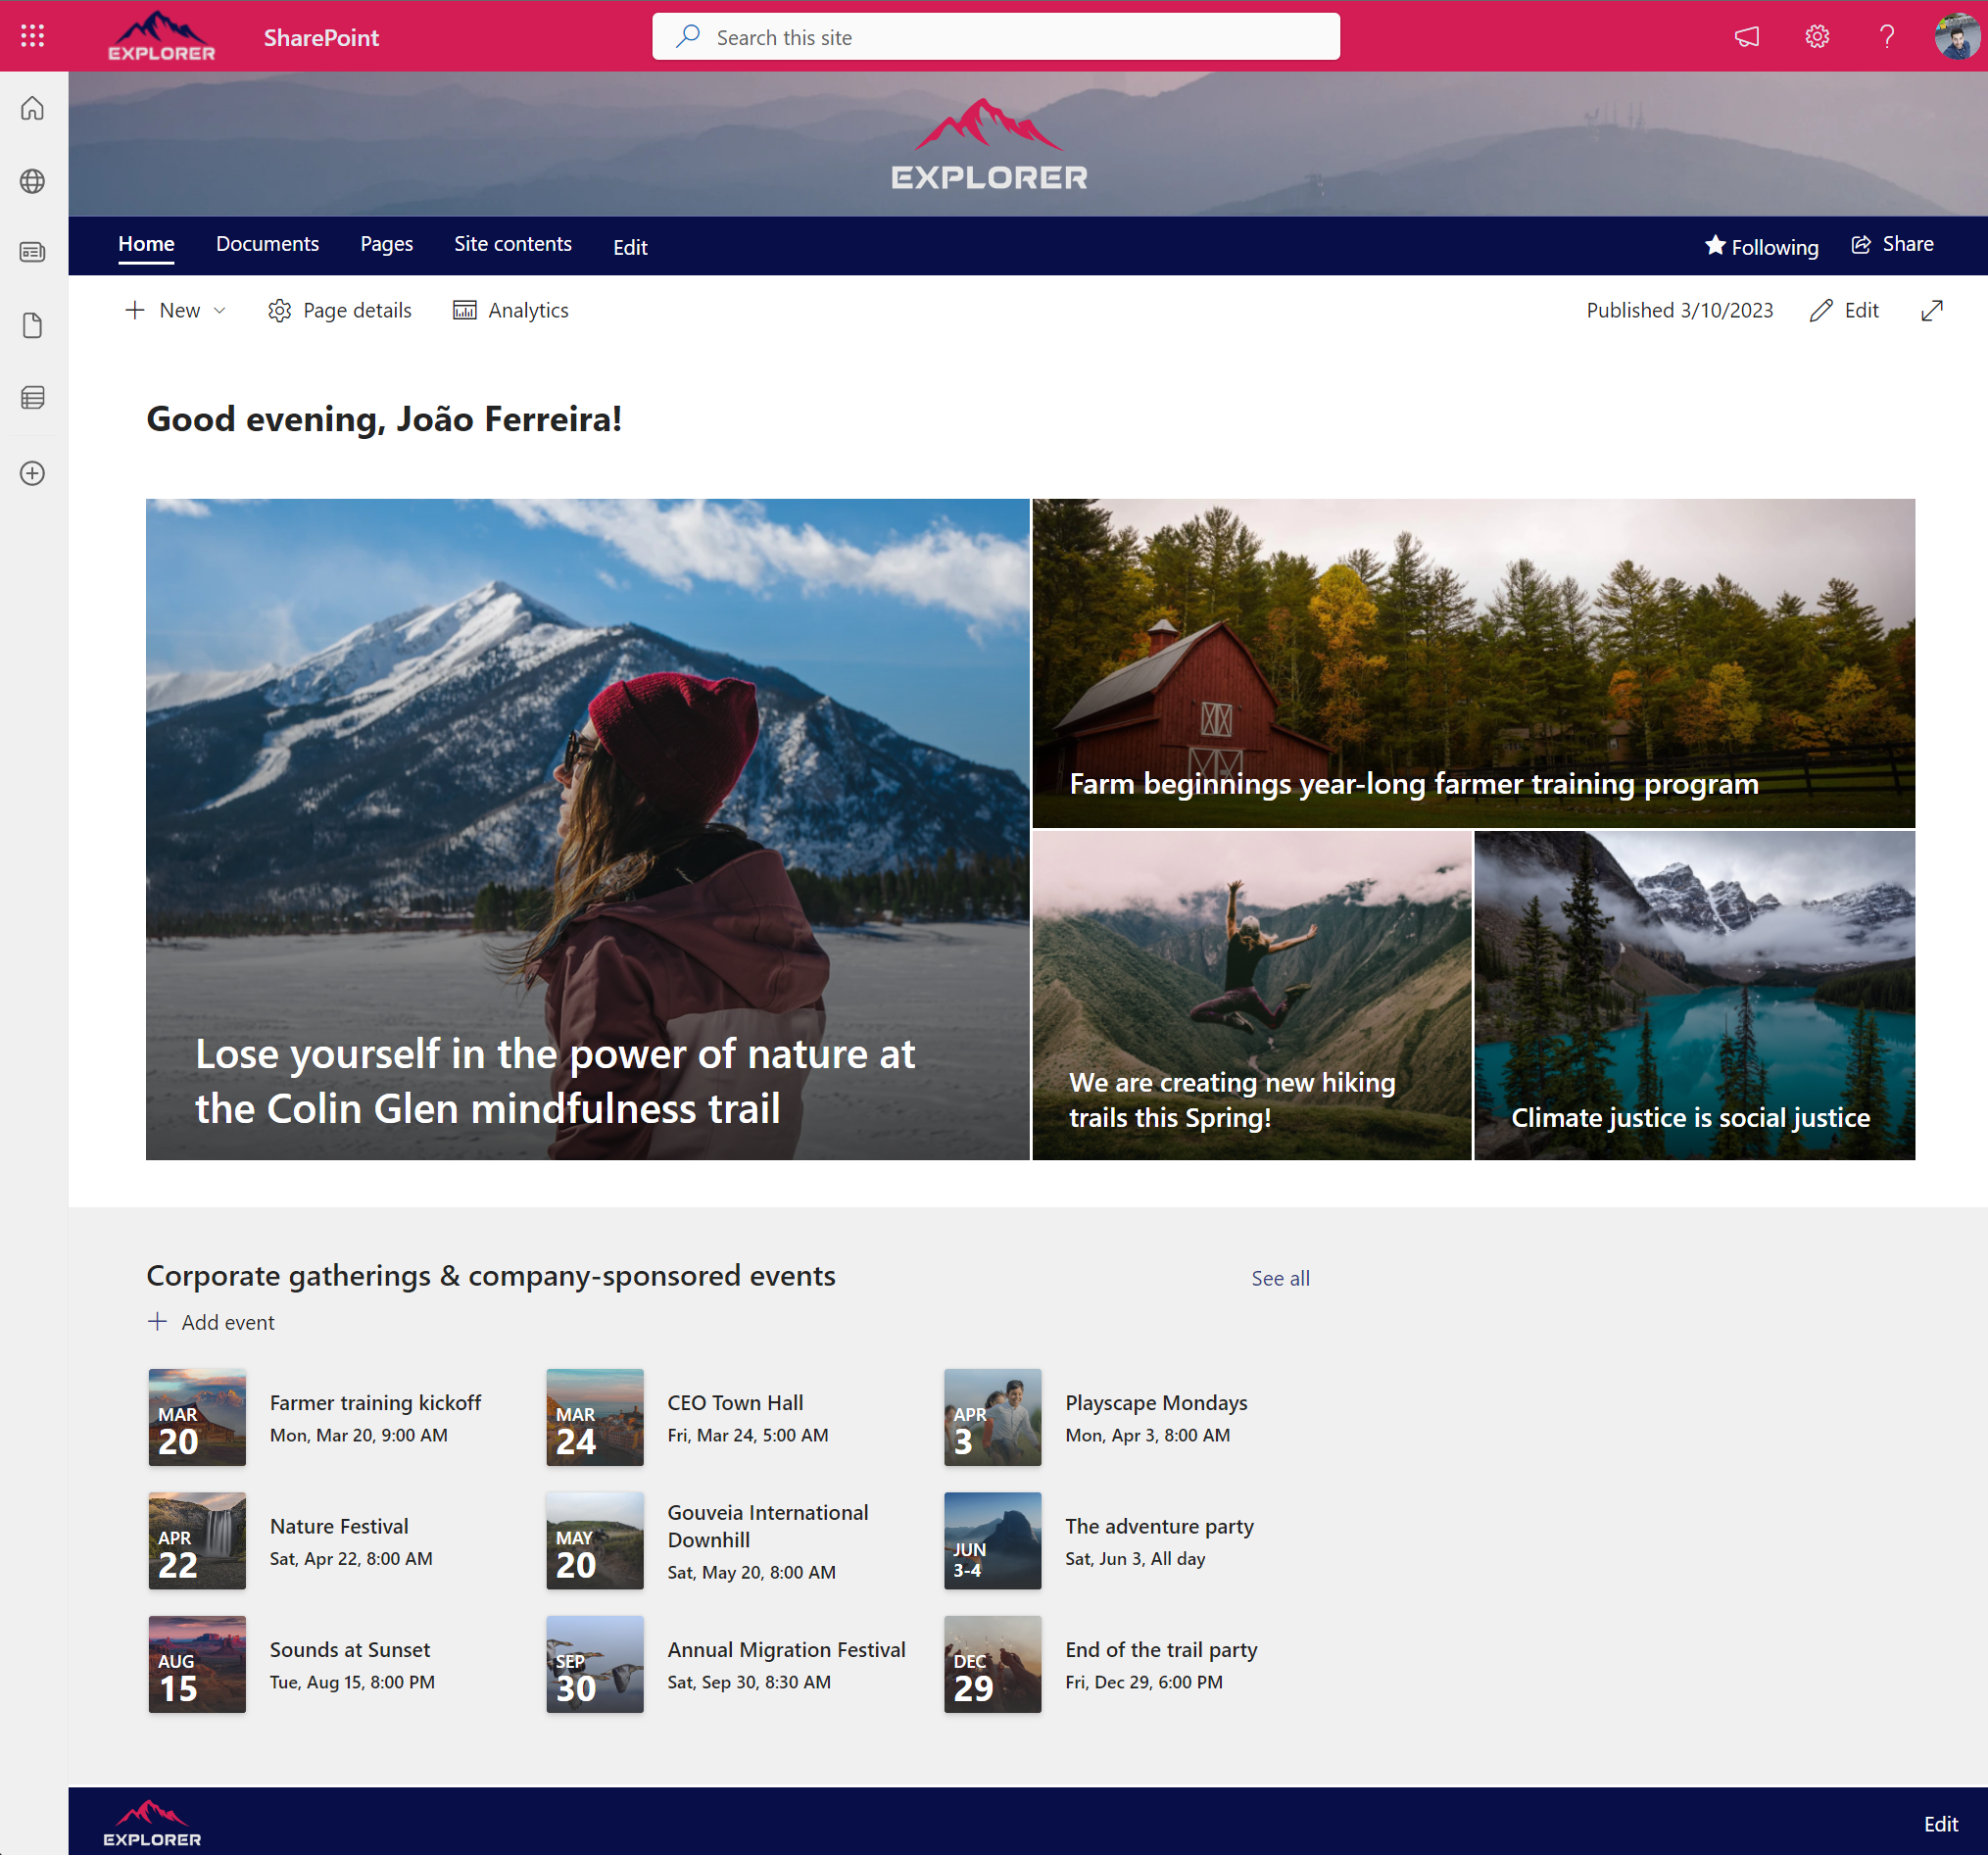
In the following image you can see how the events look like in the intranet project I’m building with the help of ChatGPT and Bing.
How to create an Event from a SharePoint site
Once you add the Events to the page to create a new event you should do the following:
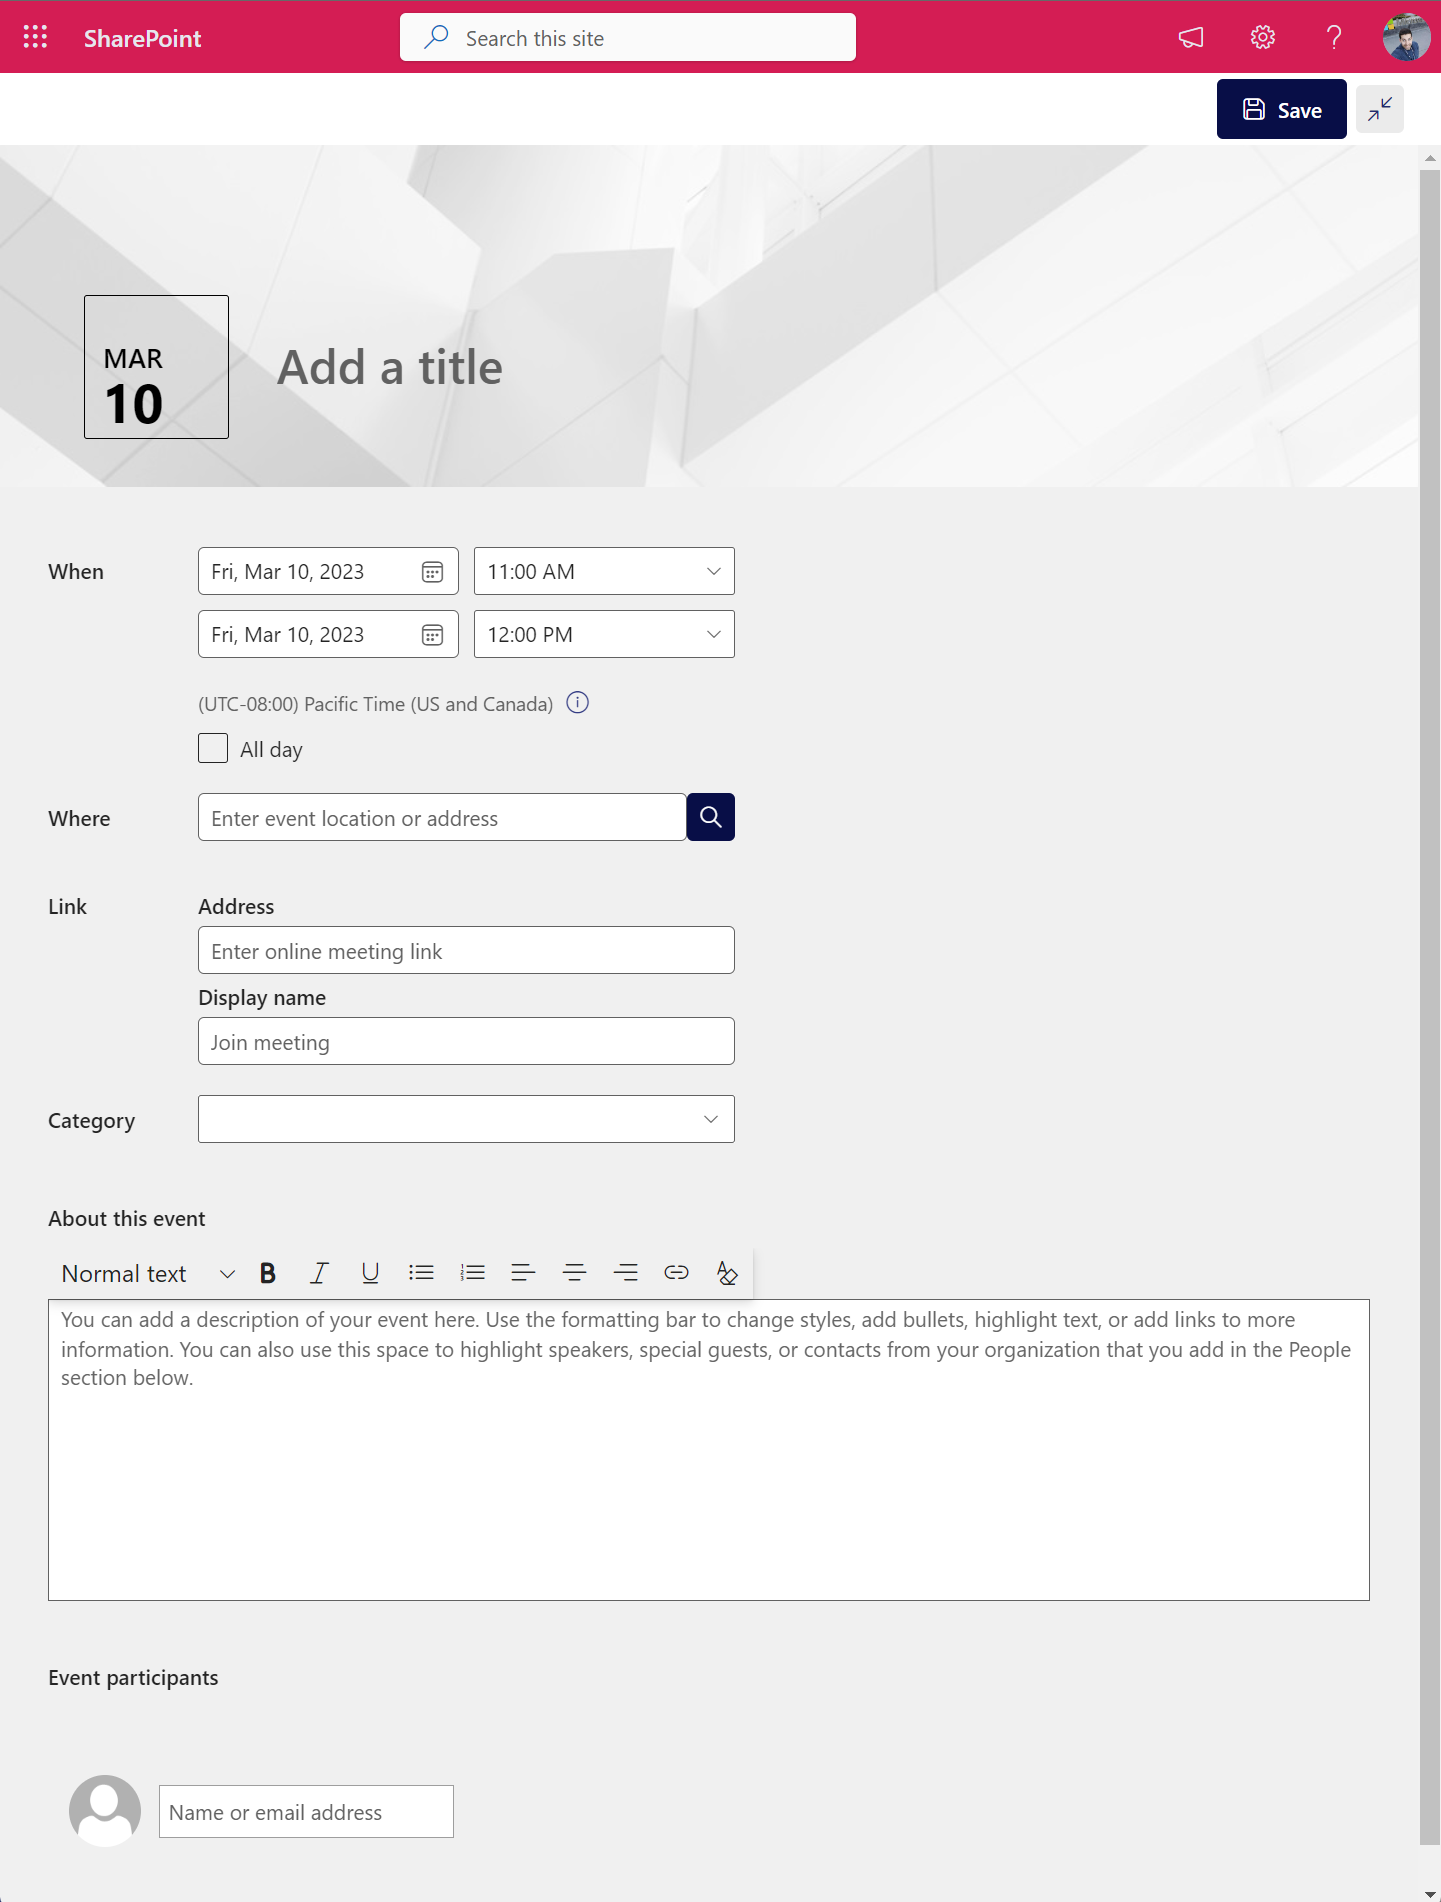
- Click in the Add event located under the web part title, this action will redirect you to a new event page
- Provide a header image for the event, this is important if you will show the events with image in the landing page, make sure you select an image with a quality that is also aligned with the branding of your site
- Type a title for the event
- Define the start and end dates
- Define a location, if this is a in-person event you can add the address directly in here that will be shown in a Bing map, if it is a remote event you will be able to add the link to join the meeting
- Select the category
- Use the description field to provide more information about the event
- Add the event participants
- Click Save to add the event to the calendar
How to view a SharePoint event detail
Users can interact with the events web part by clicking on events to view more details about it. The more information you provide while creating the event the better will be the experience for the end user.
As most of the users in the Microsoft 365 ecosystem manage their day using the Outlook calendar, the SharePoint event includes an option in the detail page to download an ICS file that can be used by Outlook or any other calendar application.

To download the ICS file do the following:
- Click in the Add to my calendar link
- Open the downloaded file with Outlook
- Click Save and Close to add it to the calendar
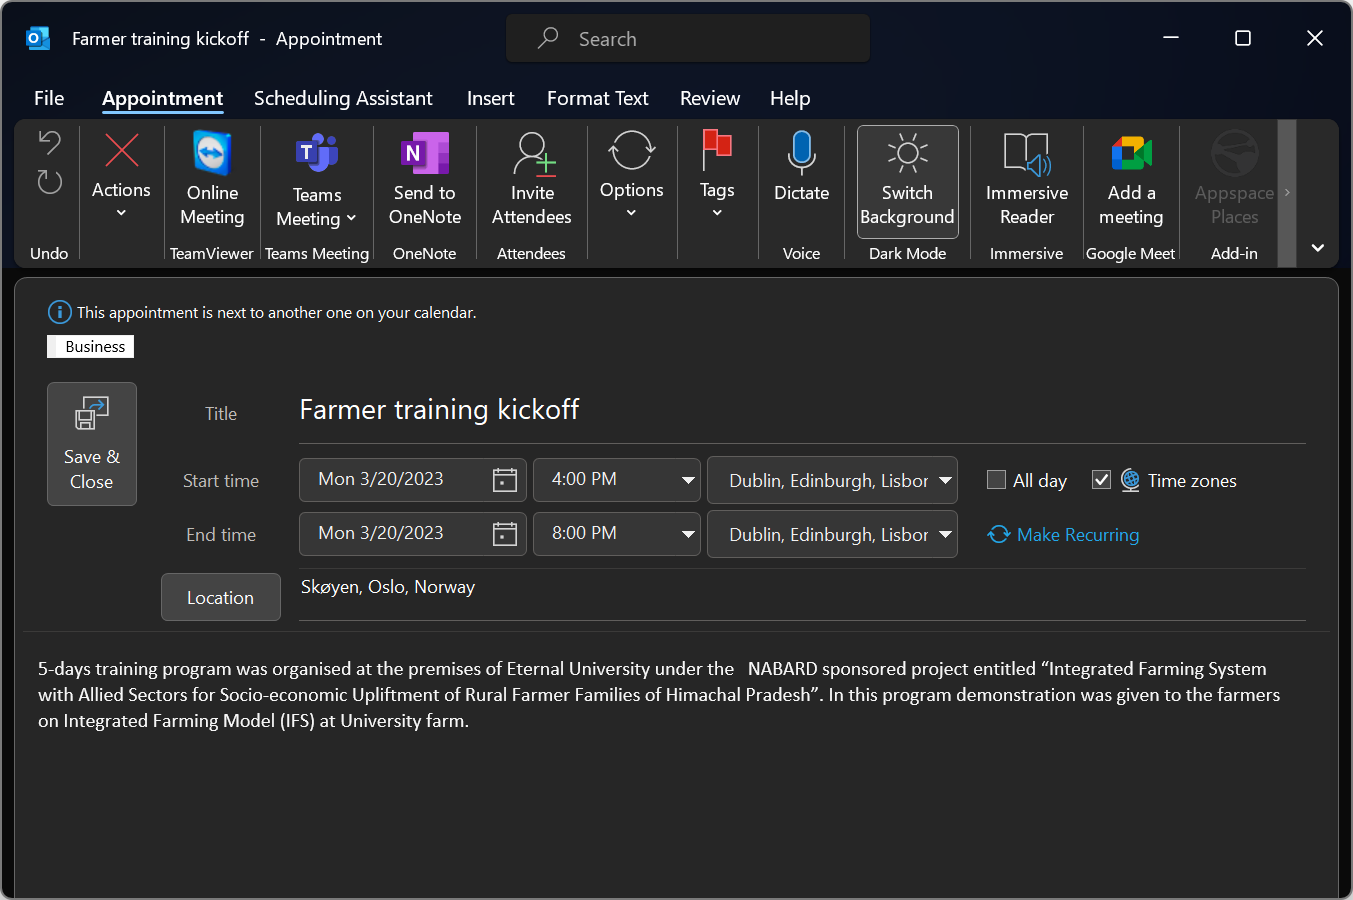
💎 Pro Tip:The ICS only adds the description and dates of the event, to keep track of it in SharePoint I recommend you add the event link to the meeting request before saving it. This way you will be able to easily open it from Outlook.


No comments yet