How to access Viva Amplify on day one: A quick guide
The world of Microsoft technology is always evolving, and one of the most exciting aspects of it is the release of new applications. The moment we hear about a groundbreaking app, FOMO takes over, and we can’t wait to get our hands on it.
However, sometimes, even after configuring everything correctly, you might not see the app listed in your tenant. This can be frustrating, but don’t worry, usually there is a solution to get a faster access.
In this blog post, I’m going to show you how to access Viva Amplify on day one, even if it doesn’t appear in your list of apps.

What is Viva Amplify and how to configure it?
Viva Amplify empowers leaders and communicators by providing tools to create messaging campaigns, schedule distribution across various channels, and analyze the impact of these campaigns.
Before you jump into the cheat code for accessing Viva Amplify, it’s crucial to configure in the Microsoft Viva admin center to define what are the users and groups with permissions to use it.

Accessing Viva Amplify Using a Special URL
If Viva Amplify has been deployed to your tenant, there is a workaround that allows you to access it immediately. You don’t have to wait for it to appear in your app list, all you need is the following URL, and you can start experiencing the new Viva Application.
On the root site collection of your tenant open the following page.
https://your-tenant-name.sharepoint.com/_layouts/15/viva-amplify.aspx
Make sure to replace “your-tenant-name” with your actual SharePoint tenant name.
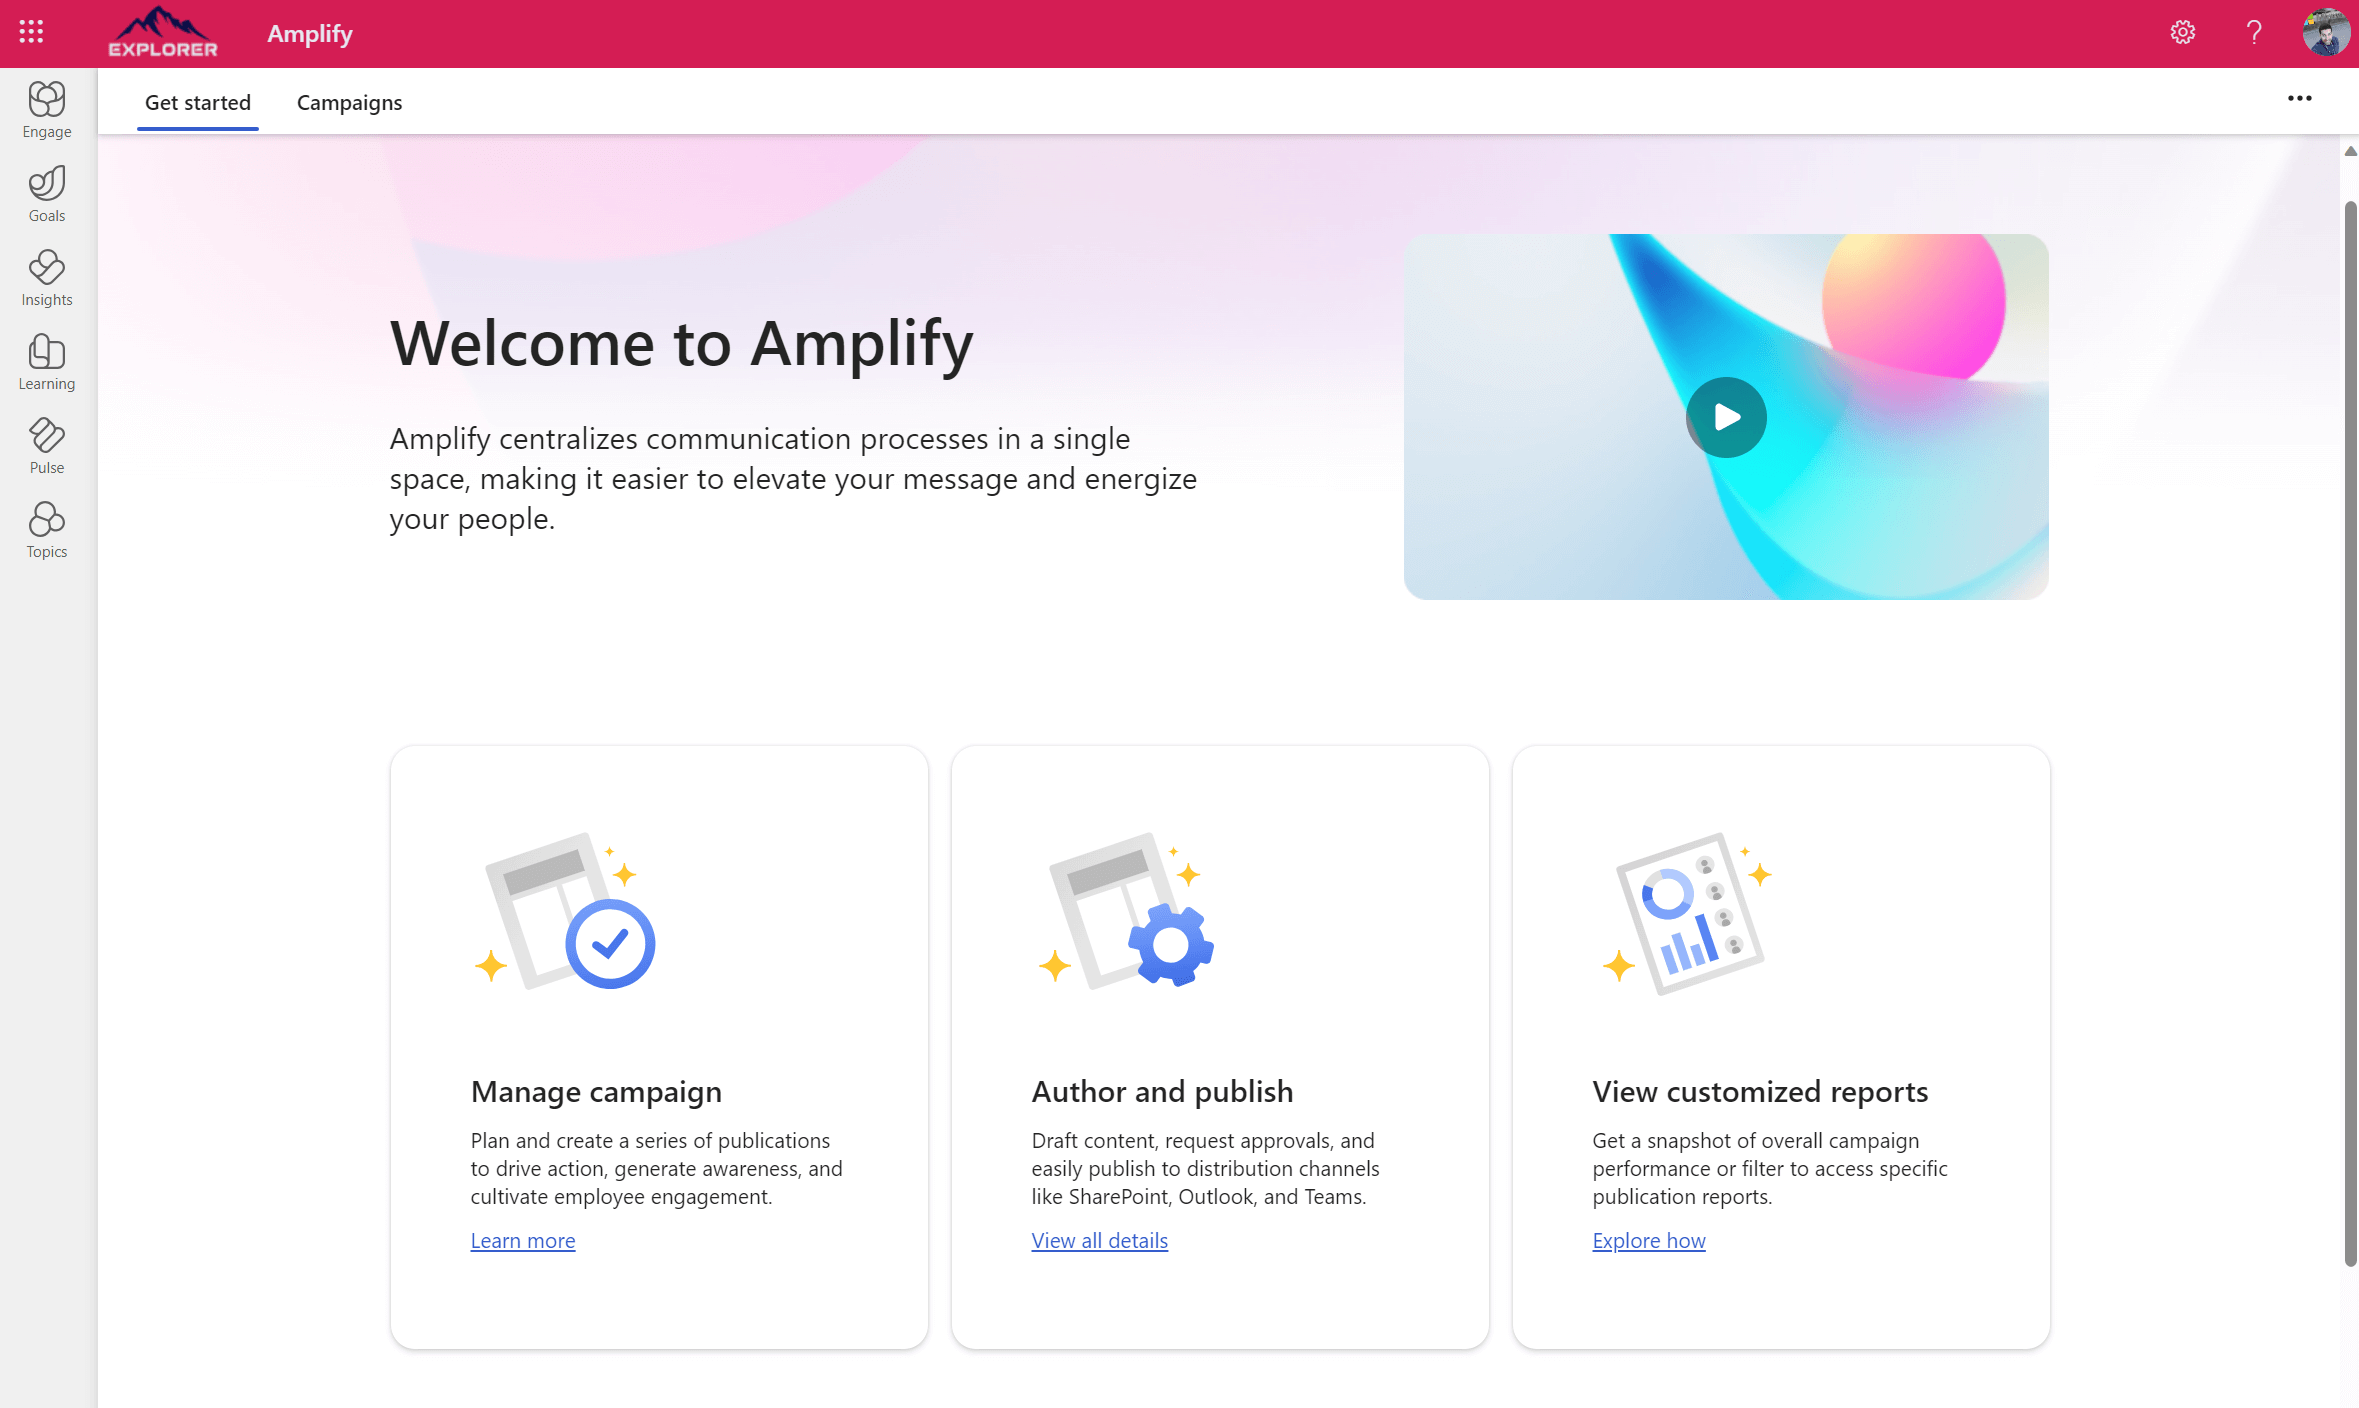
If you see the following image you have successfully accessed Viva Amplify and you can start exploring it right away.

On the other hand if you see the following image, it means that it is not yet available in your tenant or you don’t have the proper permissions or the required license to use it.


 HANDS ON tek
 M365 Admin


No comments yet