

 HANDS ON SharePoint
 HANDS ON Teams
 HANDS ON Lists
 HANDS ON tek
 M365 Admin
How to automate applying a SharePoint theme across site collections with PnP PowerShell
To enhance the user experience and brand identity of your SharePoint sites, you may want to apply a consistent theme across all your site collections.
However, manually applying a theme to each site collection can be a time-consuming and tedious task. The good news is that you can easily automate this process using PnP PowerShell. In this blog post, we’ll walk you through the steps to apply a SharePoint theme to all site collections without manual intervention.

In order to accomplish the steps described in this article you must install the latest version of the PnP PowerShell module, more information about how to do it can be found here.
- Copy the following script and update the $tenantName, $themeName with your own values
$tenantName = "handsonsp" $themeName = "Explorer" $modernOnly = $True try { $connection = Connect-PnPOnline -Url ("https://{0}-admin.sharepoint.com" -f $tenantName) -Interactive -ReturnConnection } catch { Write-Host "Unable to connect." } if($modernOnly){ $Sites = (Get-PnPTenantSite -Template 'GROUP#0' -Connection $connection) + (Get-PnPTenantSite -Template 'SITEPAGEPUBLISHING#0' -Connection $connection) }else{ $Sites = Get-PnPTenantSite -Connection $connection } Write-Host ("Applying the {0} theme" -f $themeName) -BackgroundColor Gray -ForegroundColor Black foreach ($Site in $Sites){ try { Write-Host -NoNewline ("* {0} - {1} - " -f $Site.Title, $Site.Url) Connect-PnPOnline -Url $Site.Url -Interactive Set-PnPWebTheme -Theme $themeName -WebUrl $Site.Url Write-Host "Done" -BackgroundColor Green } catch { Write-Host "Fail" -BackgroundColor Red } } Write-Host "All Done" - Authenticate and wait for the process to complete, as the theme is applied to the site collections you can see a report of the sites indicating if it was successfully applied
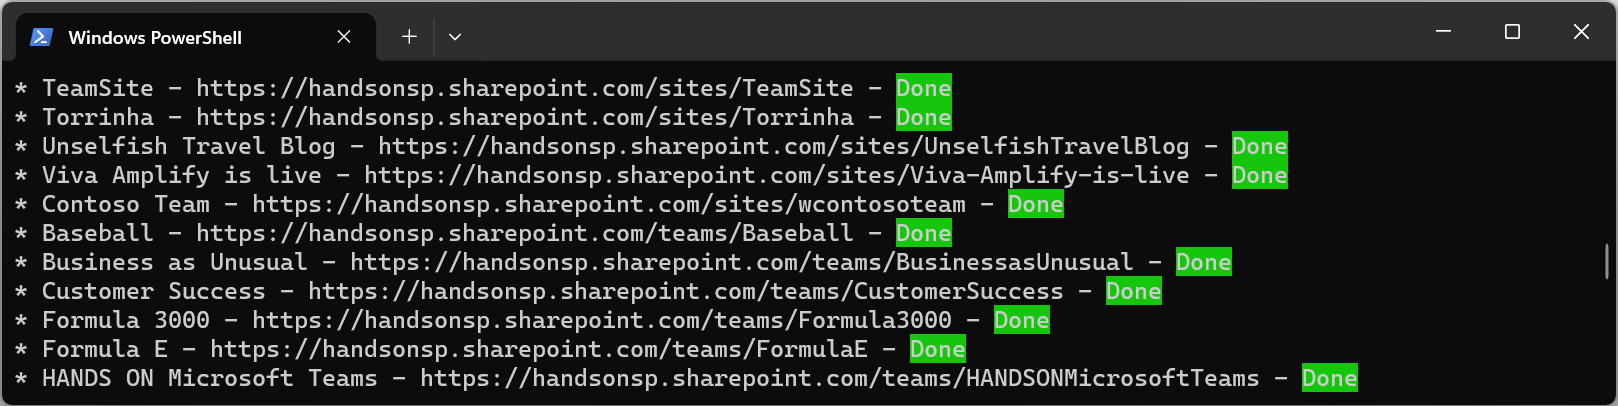
Even authenticating as a global administrator you will not get access to the sites where you don’t belong, on those ones the theme will not be applied.


No comments yet